


Ever heard the term ADSR thrown around and weren’t sure what it meant?
ADSR is an incredible music production tool. But learning what it is, let alone how to use it, can be daunting.
Today I’m going to teach you what ADSR means and how it can help your songs and mixes.
By the end of this article, you’ll be able to use ADSR to perfect your synth sounds. You’ll also learn how ADSR help you get better mix separation and clarity!
I’m guessing you’re here because you want to make your mixes sound professional. We put together a brief training that covers a totally new approach to music production. Until now, everyone has been teaching production totally backward. Just click below to watch.Get industry-quality every time (steal this framework)
But if you just want to learn about ADSR specifically, keep reading.
What Is ADSR?
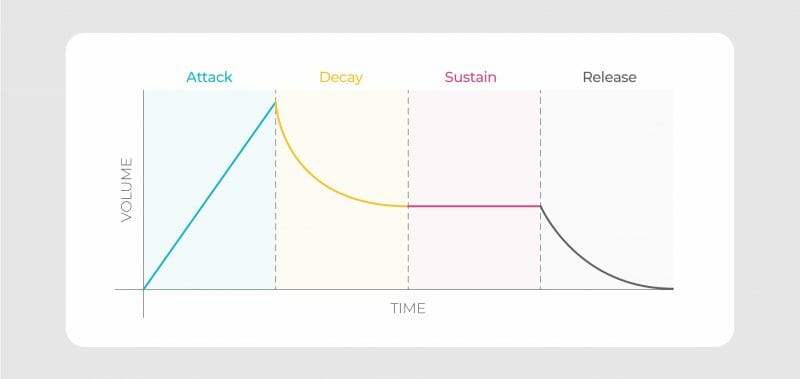
ADSR stands for attack, decay, sustain, and release.
These are four different settings that let you change the length of a sound.
These can be part of any sound envelope. But you’ll usually use them in amplitude envelopes.
Let’s say you’re listening to a recording of a guitar chord being strummed.
ADSR is a way of measuring how long it takes for the chord to reach full volume. And how long it takes for the chord to fade out.
By changing each of these settings (attack, decay, sustain, and release), you’re deciding how loud the sound is and how long it stays at that volume.
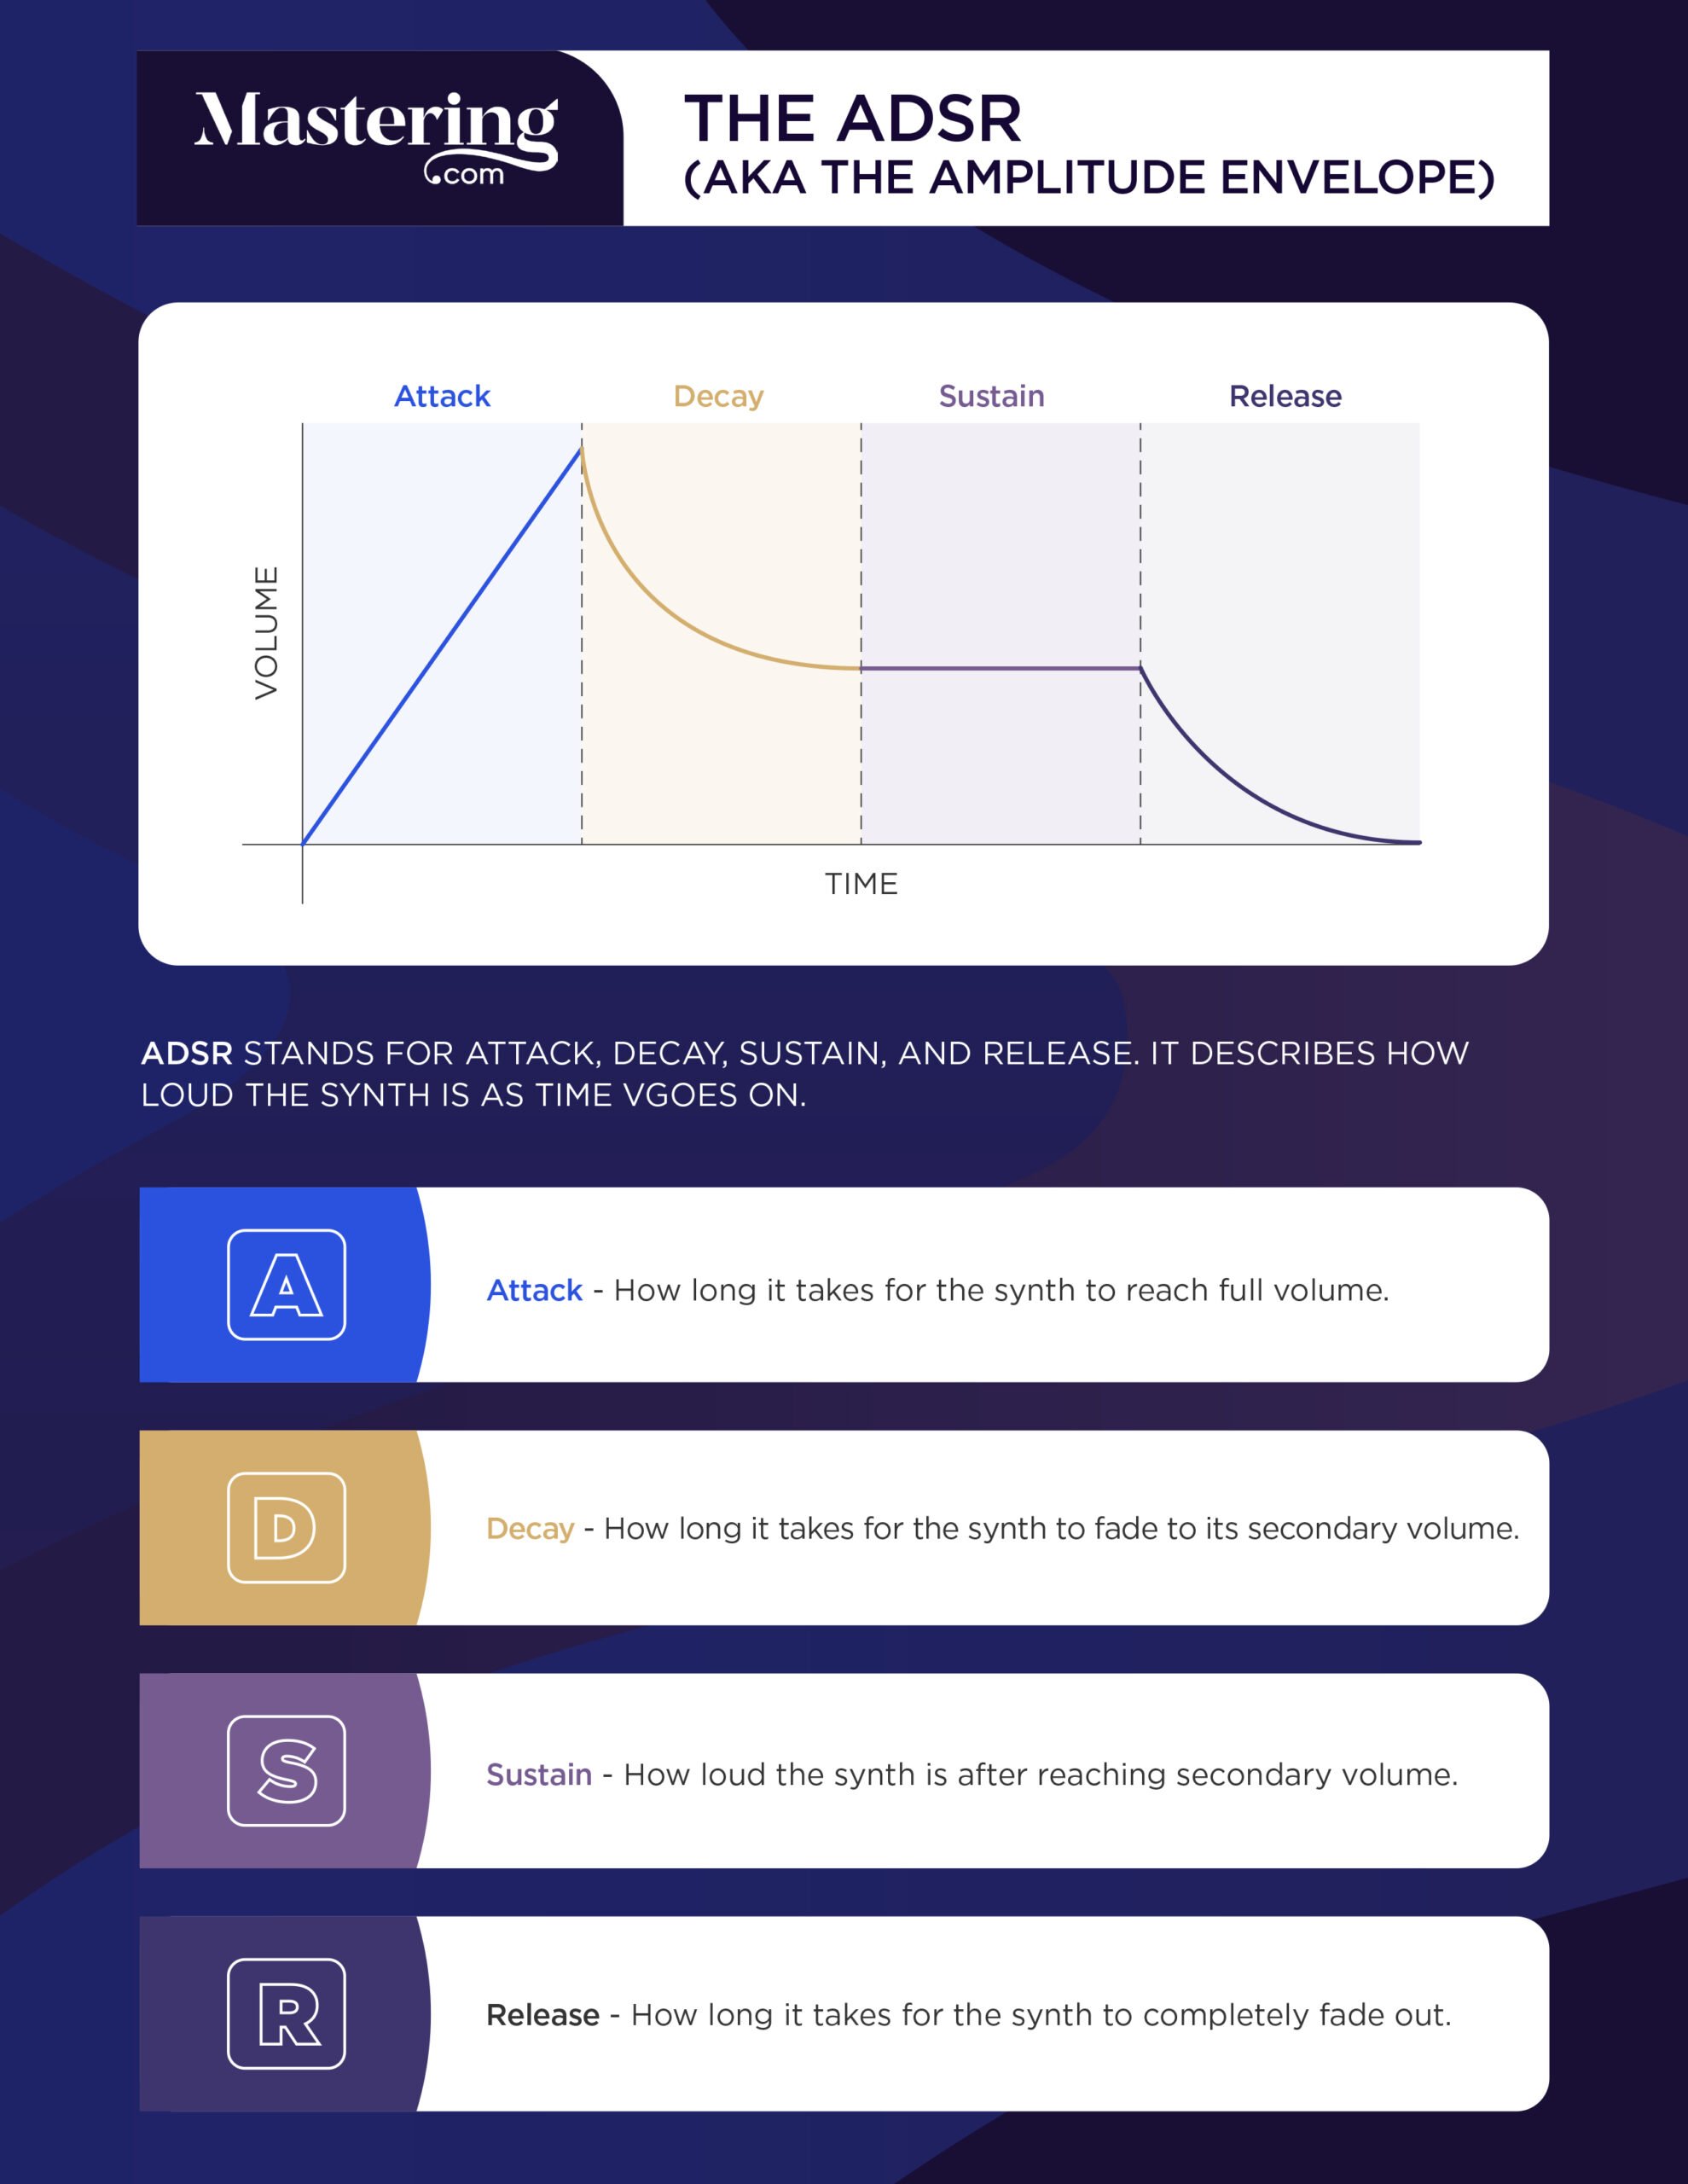
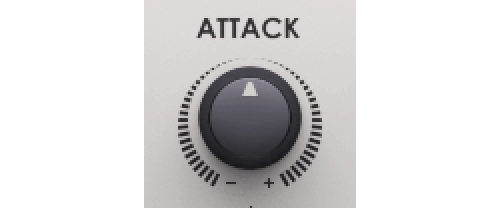
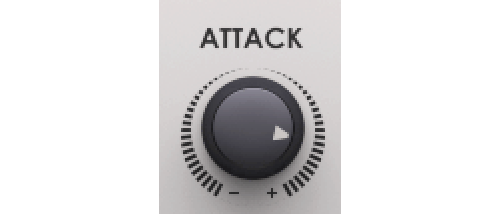
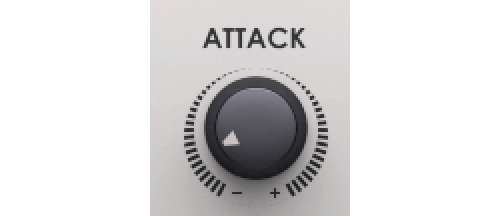
Attack

Think of ADSR as a roller coaster. The ride climbs up to the top of a hill, drops, then comes back to the station.
The attack is how long it takes for the car to go up the first hill.

A fast coaster might launch you up right away, while a slow one will pull you to the top slowly.
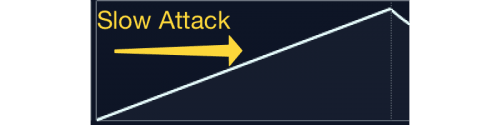
Just like a roller coaster going up a hill, it takes time for a sound to reach full volume.
A sound with a short attack will be heard immediately. One with a longer attack will gradually fade in.
Here’s a sound with a short attack. As you can hear, it goes from silent to loud super quickly.

Here’s a sound with a slow attack, which takes a while to turn up.
Decay

Once the roller coaster reaches the top of the hill, it rushes down the first drop.

The decay is how long it takes to fall from the top of the hill to the bottom.
In other words, decay is how long it takes for the sound to fade from its highest volume to the sustain volume.
A sound with a slow decay will take a while to reach the secondary volume set by the sustain.

A fast decay will fade from the attack volume to the sustain volume really quickly.

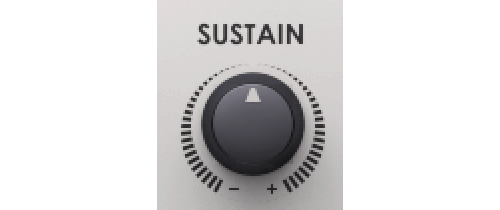
Sustain

If decay is how long it takes to get to the bottom of the hill, sustain is how low the hill goes.
Sustain is how quiet the sound is after the attack.
If a sound stays the same volume for a while, it’ll have a high sustain.
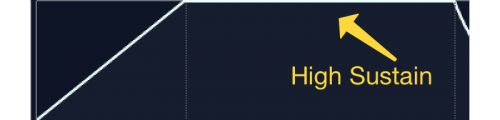
If it gets quiet, the sustain is low.

You really have to think of decay and sustain as connected. The sustain decides how loud the sound will be after the initial hit. The decay determines how long it takes to reach that second volume.
Release

After all this, the roller coaster needs to come back to the station. And the sound still needs to fade out into silence.
That’s where the release comes in. The release is the time it takes for the sound to totally fade out.
A sound with a long release will take a long time to fade out.

But a sound with a short release will fade out very quickly.

ADSRs in Synths
As one of the fundamentals of sound design, ADSR is pretty important!
ADSR is the secret ingredient to making synths that sound incredible.
All the other settings on a synth are important. But no matter how cool the rest of your synth sounds, if it takes too long to fade in or out, it’s going to sound like a mess.
Meanwhile, even the simplest synth voice can sound great with the right ADSR settings.
Here are some ADSR settings to create different types of synth sounds.
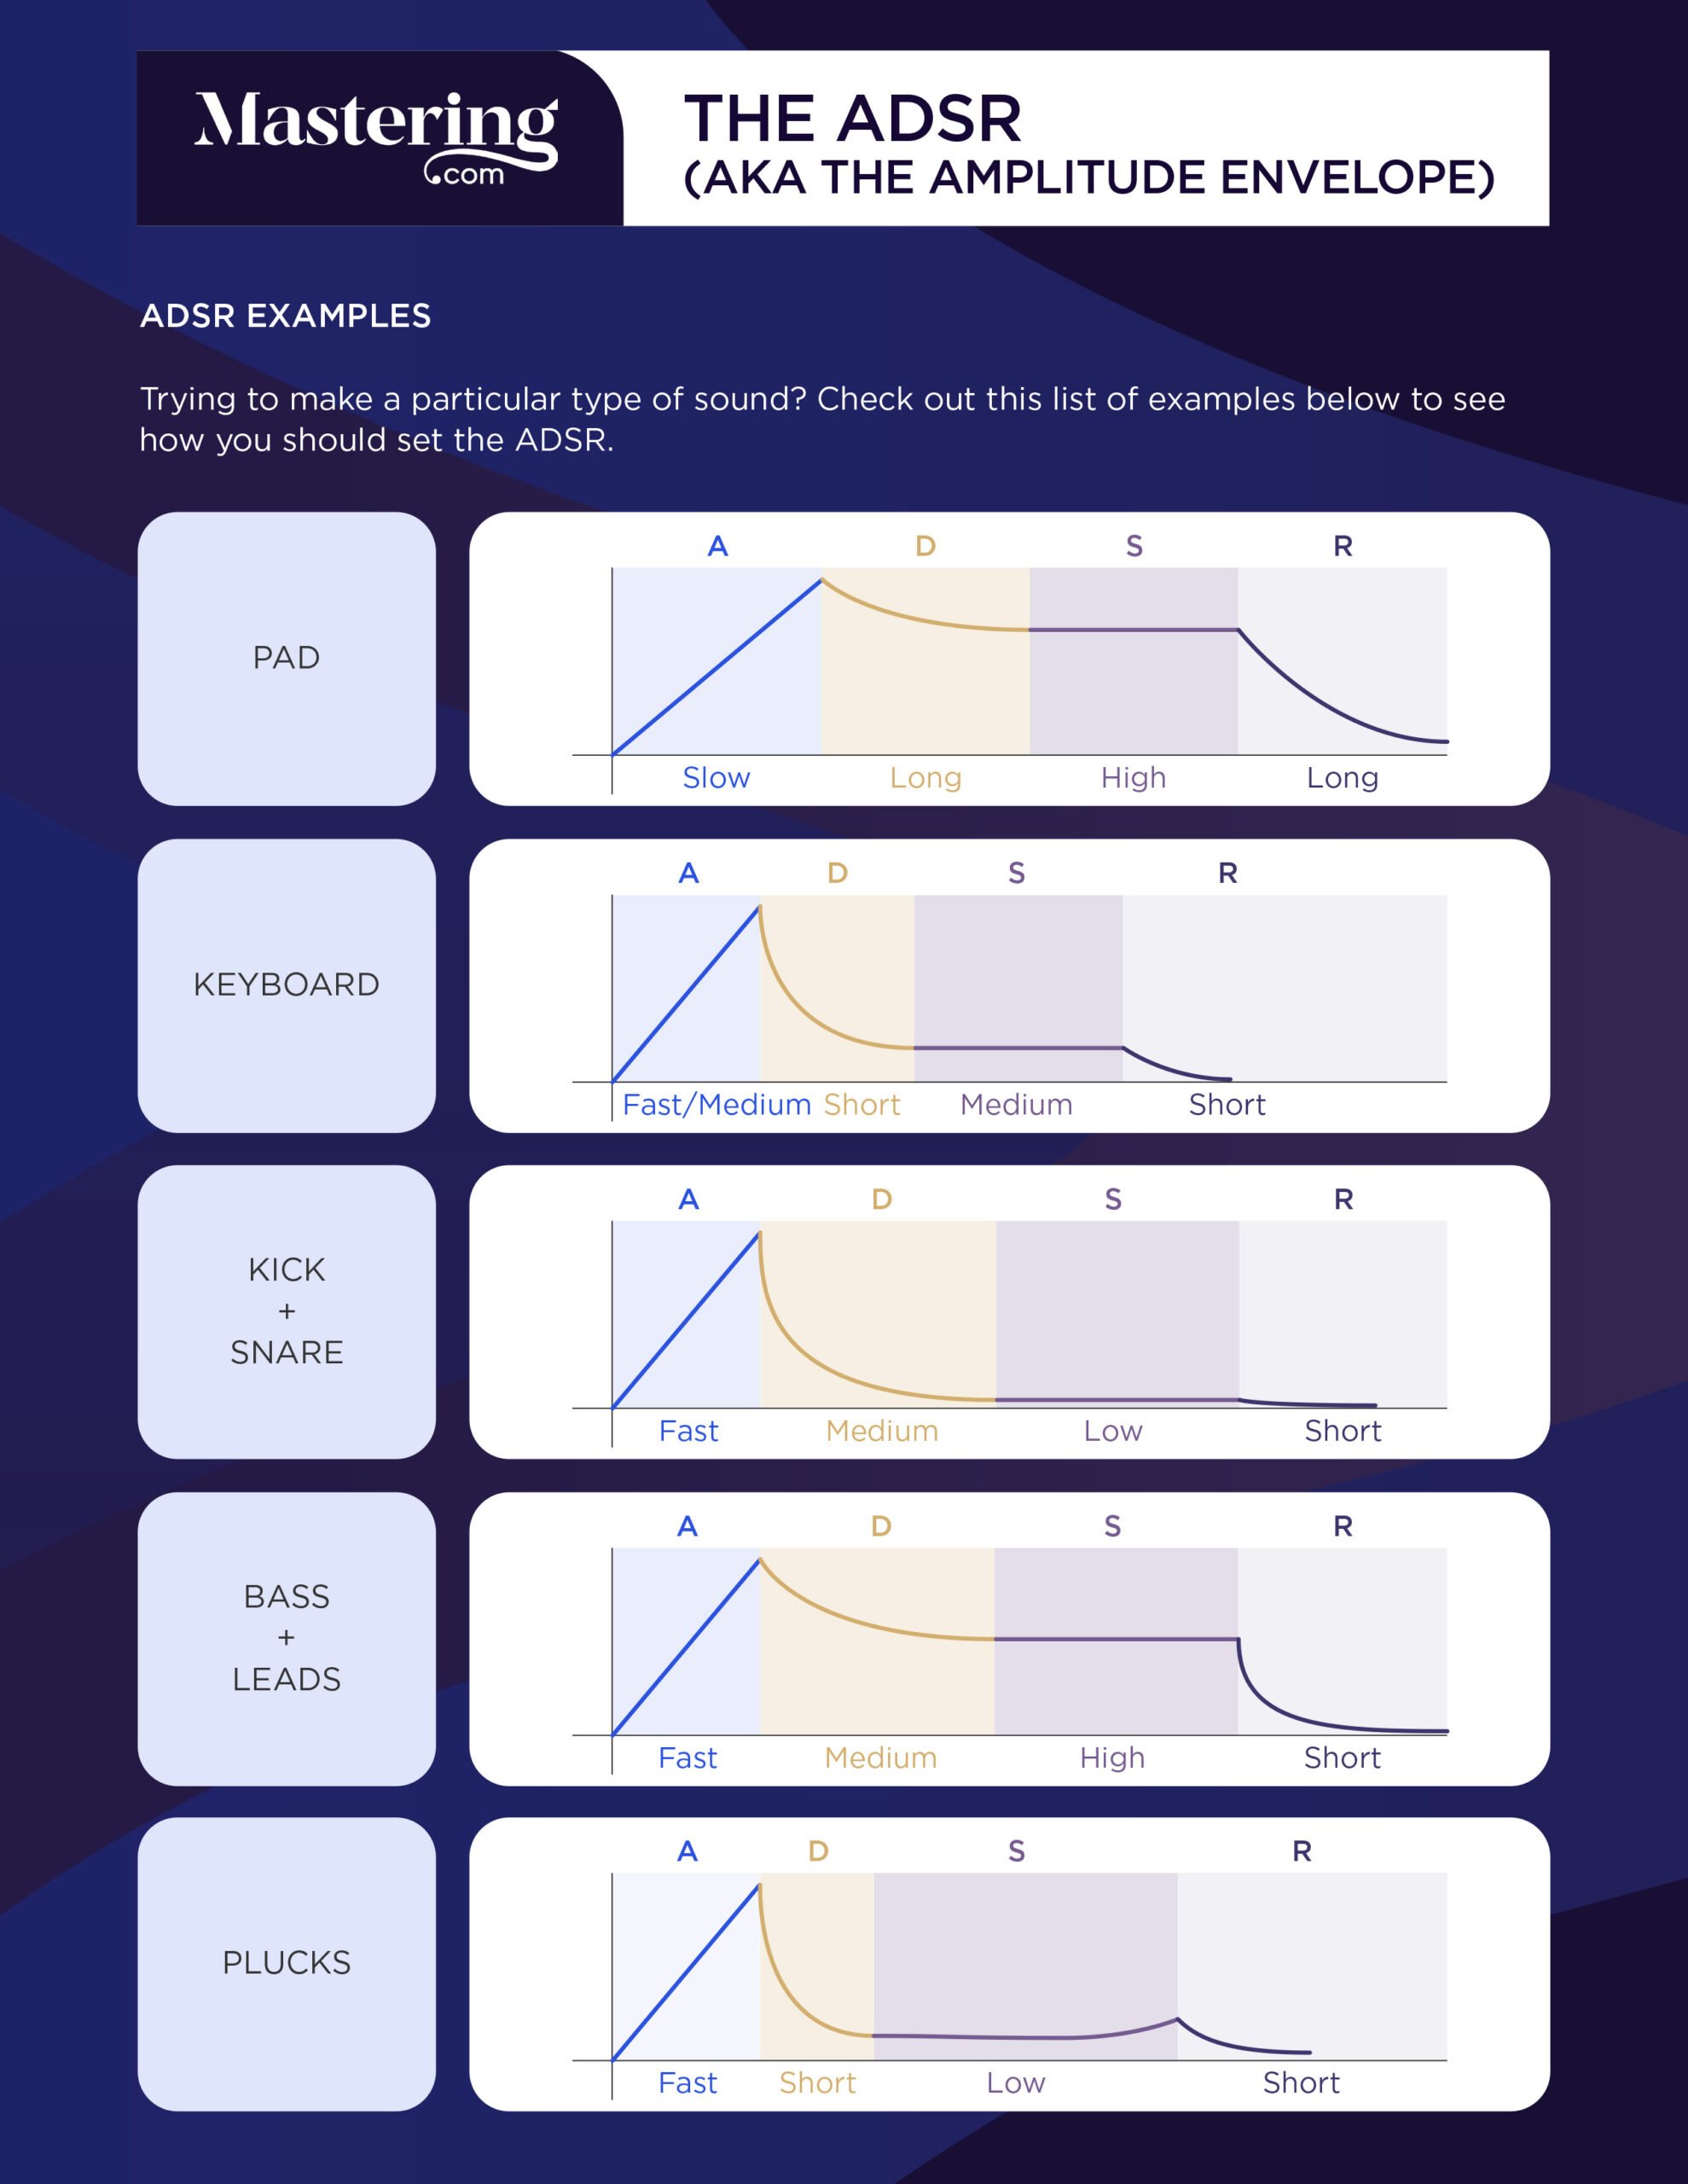
In general, if you want your synth to be super focal, you’ll want a fast attack and a fast release. For background synths, slow attacks and slow releases are better.
How Can it Help Your Mix?
ADSR envelopes are tools that let you change the length and volume of your sound. If you want to stretch a sound out to be longer, ADSR can do that.
When creating a sound from scratch using a synth, setting the ADSR is a crucial part of getting it to sound right.
While you’re mixing audio tracks, changing the ADSR can still be a life saver. Especially when you’re having a tough time getting an instrument to sit where it should be in the mix.
No matter what kind of music you’re making, ADSR can help you.
Using Sound Envelopes to Shape Audio Tracks
You can also change the ADSR of audio recordings.
There are tons of plugins out there called “transient shapers.” These let you change the ADSR settings of actual recordings.
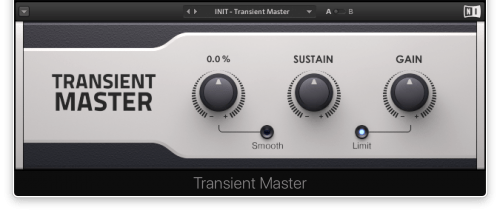
Transient shapers are super helpful when you’re having trouble getting a sound to sit in the mix.
Most transient shapers just have two settings: attack and sustain. You can boost or cut either of them.
Attack sharpens or dulls the initial transient. Increasing attack makes it punchier, decreasing attack softens it.
Sustain affects the tail end of the sound, shaping the later transients.
Decreasing the sustain shortens the sounds, making it tighter. Increasing the sustain brings up the natural reverb tail, making it sound roomier.
For the next tips to work well, make sure you’ve already got a solid static mix.
These techniques will help you perfect the balance of your mix. But if you don’t have a basic volume balance, you could end up doing more harm than good.
Making Sounds Punchier
Sometimes it’s impossible to make a sound punch through the mix like you want it to.
Kick drums are especially notorious for this. They’re either way too quiet or too loud.
Transient shapers are great at fixing this. By turning up the attack, you can emphasize the initial “hit” without turning up the entire sound.
Pay attention to your meters while doing this. You can probably get your kick to sound louder than it did before while actually shaving off a dB or two of volume.
Let’s see how it sounds in action. Pay extra attention to how close the kick sounds in both samples.
Original kick recording:
Kick with extra attack:
In the second example, the kick sounds way closer. It’s almost like highs and mids have been laser focused.
This isn’t always going to be what you want. If you want a really boomy sounding kick, you might not want to do this. But if you need your kick to cut through the mix, this can add some really helpful punch.
A lot of transient shapers have high passes on them. Rather than getting rid of the low frequencies, a high pass on a transient shaper makes sure the low end isn’t being affected.
This makes sure you don’t turn up the sub frequencies along with everything else. You can get some extra punch out of your kick, and the sub frequencies won’t be overwhelming.
Push It Back in the Mix
On the flip side, turning down the attack will make something sound further away.
This can be especially helpful for rhythm guitar, drum overheads, and bass. You usually don’t want those instruments to be super forward in the mix.
By softening the initial hit with a transient shaper, you can push them back without risking overcompression.
Check it out.
Original overhead recording:
Overheads with less attack:
That second example sounds a lot roomier. It’s like the cymbals have been literally pushed back in the room. This is super helpful when you don’t want them to sound too close!
Adding Room
Sometimes songs sound a little too pristine. Music should have personality, and a lot of the time that means making sure it doesn’t sound flawless.
A great way to add character to your mix without throwing off the balance is turning up the sustain. This makes it sound like you had another mic further away from the instrument.

I’m not talking about reverb. Though it has a similar effect.
You aren’t adding the reverb characteristics of another room to the sound. You’re turning up the background noise from the room you recorded in.
At the tail end of a recording, when it starts fading out, there’s usually some noise from the space you tracked in. Turning up the sustain of a sound will turn up that noise.
If you’ve ever used a room mic, it sounds pretty similar to that.
Here’s a kit without added sustain:
And here it is again, with some extra room on it:
You’ll also notice that the second example sounds a lot louder. Their peaks are the same, but the drums sound louder in the second example.
More on that later…
Clean Up Noise and Make Tracks Tighter
You don’t always want much room noise at the tail end of a sound. In fact, sometimes you don’t want any.
By decreasing the sustain, you can turn down the tail end of a sound. It’s kind of like adding a short fade to the end of a clip.

This is useful for cleaning up unwanted noise and making an instrument sound tighter.
Got some nasty buzz from your guitar amp that crops up in between notes? Try turning down the sustain. Noise problem solved!
Want the tom fills of your song to sound airtight? Turning down the sustain will almost make them sound like they’ve been gated.
Original Drum Fill Recording:
Drum Fill With Less Sustain
But turning down a single knob is a lot quicker than dialing in a noise gate. It’s a great way to get the same rhythmic effect of a gate in less time.
Keep Your Vocals Front and Center
You can also use transient shaping to help your vocals cut through the mix. Next time you want your vocals to sound closer to the listener, try automating the attack up.

Just like any other instrument, turning up the attack will push your vocals forward.
But this can be a little tricky with vocals. You run the risk of turning up some nasty stuff like sibilance and plosives.
Usually you can just throw a transient shaper on a channel and forget about it. But you have to be a little more careful with vocals.
That’s why I recommend automating up the attack on specific syllables that you want to emphasize.
Make Your Mix Sound Louder
Loudness. The eternal bane of mixers all over the world.
You want your mixes to sound as loud as the pros’, but you don’t want to wreck your mix.
Crushing your mix with a brick wall limiter may make it sound louder. But you’ll make your peaks distort in the process.
What if I told you that you could make your songs sound louder without turning up the actual peaks?
Let’s talk about how you can do this with transient shaping.
Using Sustain to Make Something Louder
Sustain turns up the tail end of a sound. Usually the peak of a sound is at the very beginning, so turning up the sustain will let you get more overall loudness out of a sound without turning up the peaks.
Basically, you’re making the average volume of your sound louder without turning up the peaks. The whole thing sounds louder, but you aren’t in danger of clipping your master bus.
Just be careful about turning the sustain up too high! High sustain can sound a little unnatural. You don’t want to go overboard.
Keep it nice and subtle. Only turn up the sustain a little bit.
Conclusion: ADSR
ADSR can be a huge help in any mix. It’s a great way to perfect your mix’s balance with minimal automation. It’s also crucial for interesting sound design.
So next time you’re having trouble getting something to sit right, think about how a transient shaper could help.
You may just get the exact results you want in half the time it’d take otherwise.
If you want to dig deeper into music production and learn what it actually takes to make mixes that sound pro… And you’re an intermediate or advanced producer… Be sure to check out the free masterclass: Enjoy!Next Steps


