


Where was the entirety of Billie Eilish’s iconic album produced?
That’s right! In a humble bedroom.
These days, it’s not just common to produce out of your bedroom. It’s cheaper, easier, and in some ways better.
Here you’ll learn the simple steps you can take today to start producing music from your bedroom.
Step 1: Get the Gear
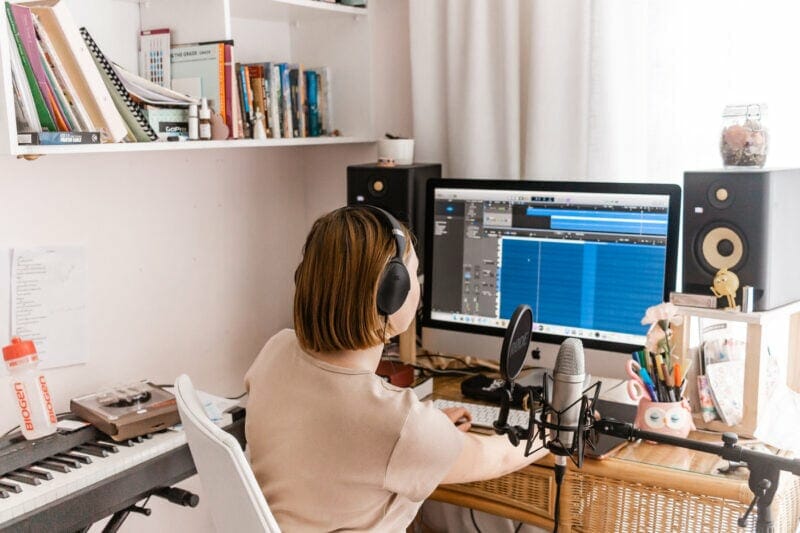
Let’s say you’re recording music from a bedroom with basic acoustic treatment. (We’ll cover treatment below.)
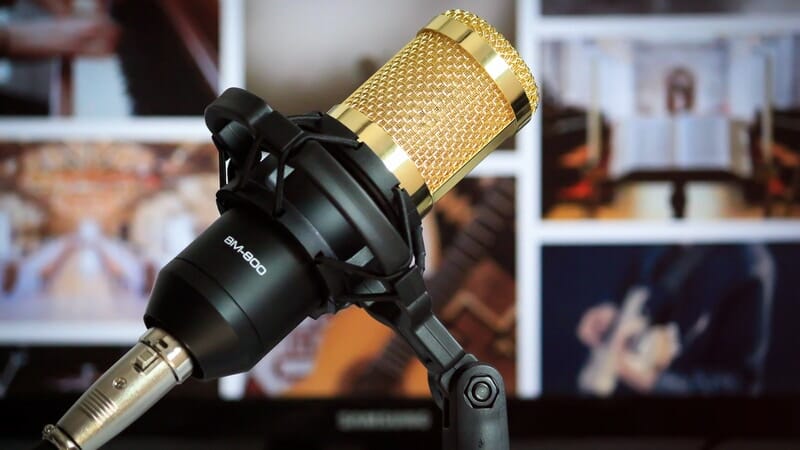
It might be tempting to splurge on a super fancy, expensive microphone.
But wait…
If your recording space isn’t the same quality as a professional studio, why would you get a mic that’s meant for a professional studio?
I’m not saying you should get a crappy mic.
But don’t drop $1,000 on a high-end mic. Its full potential will be lost on your home studio.
How do you make sure you get the best possible equipment for your bedroom studio? I’ll go through the basic things you need to produce music at home.
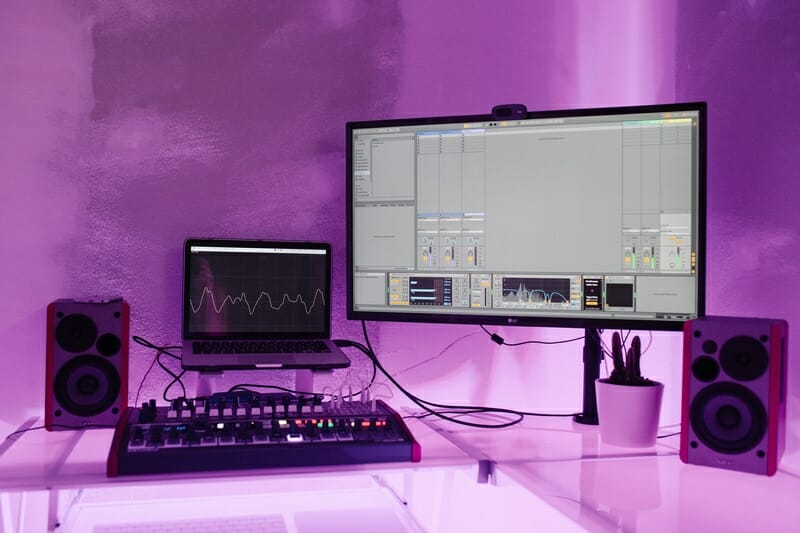
Laptop
If you don’t already own a laptop, you need one.
Technically, you can record an entire song or album on a mobile device. But that’s not ideal.
Plus, I’ll be talking about a bunch of other equipment. It won’t apply to people who record from anything other than a laptop or desktop.
When you choose a laptop, make sure it has at least these parameters:
- Dual-core CPU (preferably a quad or multi-dual processor)
- 2 gigabytes (GB) of RAM (but the more RAM, the more plugins your computer can handle smoothly)
- 120 GB of hard drive space
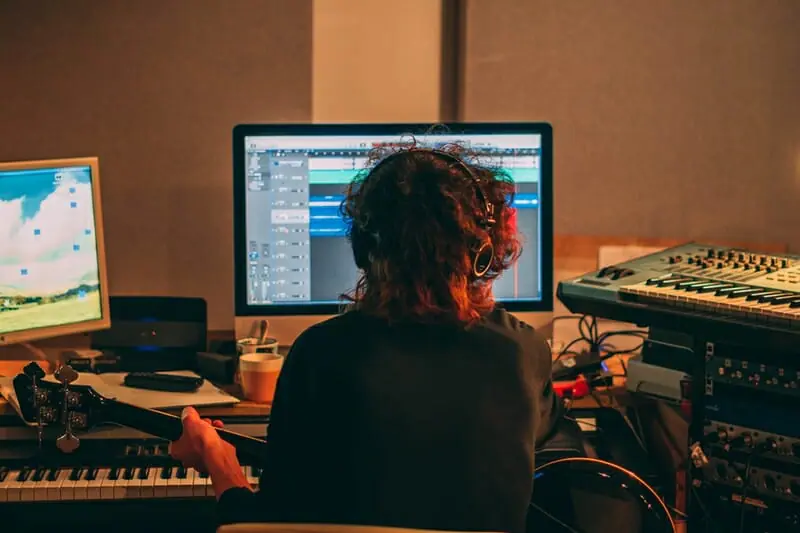
Digital Audio Workstation (DAW)
If you have a MacBook, just use GarageBand. It comes preloaded on every new MacBook.
At some point, you can upgrade to Logic Pro X, which is the grownup version of GarageBand.
If you’re on a Windows computer, I highly recommend Reaper. It’s free to try the full version, and it’s very affordable to buy a license.
If you have a bit more money, you can pick up Pro Tools. Most professional producers use it, and it’s been around longer than any other DAW.
Audio Interface
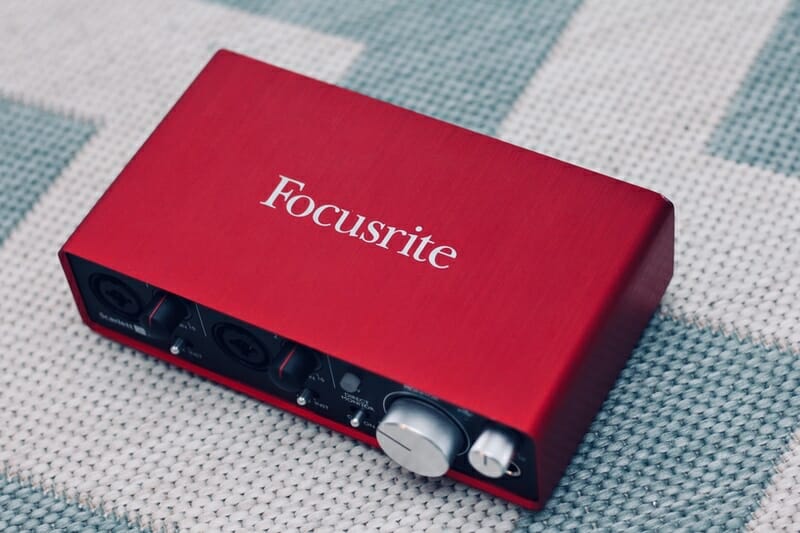
Audio interfaces are getting better and better. So you can get one with powerful preamps and everything you need for an affordable price.
I started with the Focusrite Scarlett 2i2. It does everything you need it to, and it does it well.
You can also check out these interfaces:
- PreSonus AudioBox USB 96
- Behringer U-Phoria UMC404HD
- Steinberg UR44
Want an audio interface along with a microphone, an XLR cable, headphones, and a bunch of software? You can go with the Focusrite Scarlett Solo Studio bundle.
Microphone and Accessories
If you want to handpick your own microphone and accessories, I have some suggestions.
You’ll want to start with a condenser microphone. These will capture a much clearer sound than a dynamic mic, which is ideal for vocals.
A good first choice for mics would be the Shure SM57, Audio-Technica AT2035, or AKG P170. All of these are accurate mics for not a ton of money.
If you want to get a second microphone, I recommend getting a dynamic microphone. They can handle louder sounds and are very durable.
The best dynamic mic out there is probably the Shure SM58.
Along with a mic, you’ll need an XLR mic cable, a mic stand, and a pop filter (vocals only).
Headphones
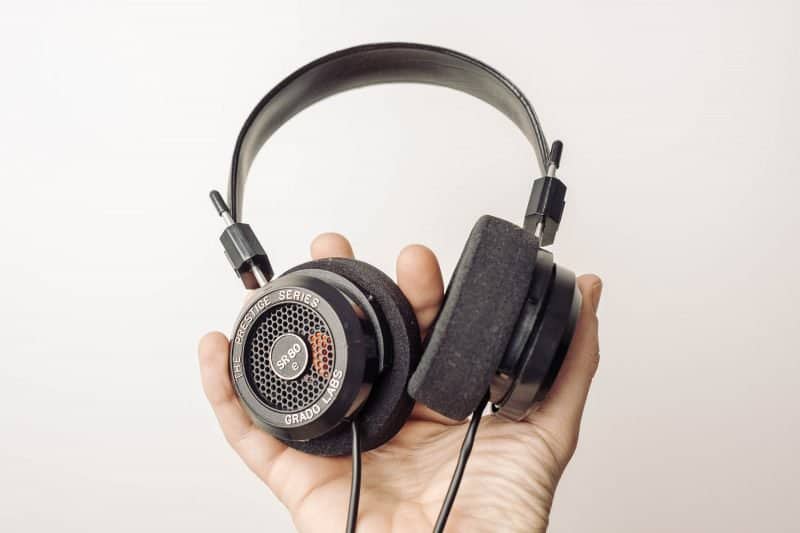
When recording at home, it’s best to go with closed-back headphones. These are better than open-back headphones at isolating the sound.
Using closed-back headphones means you’ll have less mic bleed and you’ll be able to hear the playback better.
I’ve used the Sennheiser HD 280 Pro for years, and they’re fantastic.
In the same price range, you can grab the Sony MDR-7506. Another great pair of closed-back headphones.
Multilevel Desk
You’ll probably be recording music for hours at a time.
If you don’t have a multilevel desk, you’ll probably end up getting a crick in your neck or a sore back.
And that’s no good.
Being able to put your computer at eye-level is a game changer.
An alternative is to put your laptop on an overturned wooden crate. Anything to get the screen elevated.
Comfortable Chair
The chair you sit in while making music is the most underrated piece of equipment a home producer owns.
We always talk about the recording equipment. But if you’re uncomfortable while you’re using that equipment, you won’t enjoy it.
Step 2: Treat Your Bedroom
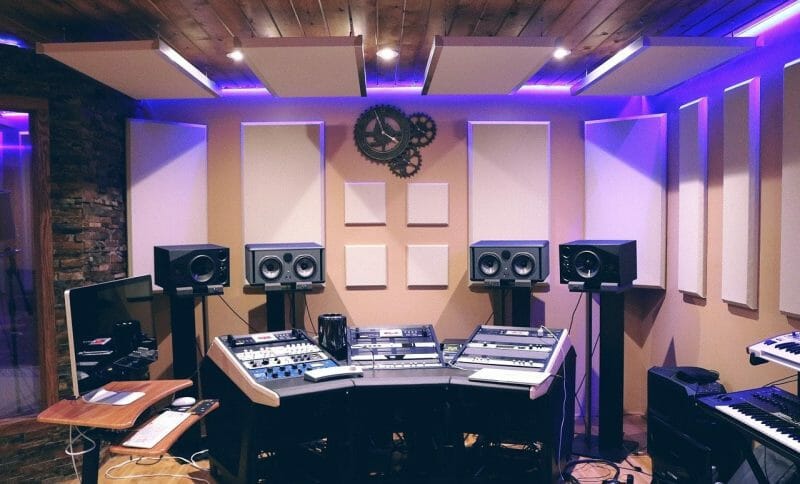
Okay, you’ve got the right equipment for your bedroom studio. Now it’s time to treat the room with acoustic panels.
Without acoustic treatment, your recordings and mixes are going to stink. They won’t be accurate.
Sound waves bounce around the room and can color what the mix captures.
Treatment gear absorbs the frequencies that are prone to build up. A buildup of reflected frequencies can cause unwanted reverb and inaccurate recordings.
You’ll be left with just the pure sound of the instrument.
But to get you started…
These are the main types of treatment you need:
- Acoustic panels (absorb higher frequencies)—NOT acoustic foam
- Bass traps (absorb lower frequencies)
- Clouds (absorb frequencies reflected off the ceiling)
- A rug (absorbs frequencies bouncing off the floor)
And here’s where you should put the panels, traps, and clouds:
- One acoustic panel behind each monitor
- Two acoustic panels at the very end of your room (opposite the monitors)
- One acoustic panel on either side of you (usually at ear level)
- A bass trap in all the top corners of the room
- Clouds hung from the ceiling between your ears and the monitors
Now, you probably have a bunch of stuff in your bedroom. And that’s good—that stuff can act as natural diffusion.
Your dresser, your bed, and any pictures hanging on the wall are useful. They can help break up the soundwaves so you get fewer reflected frequencies.
Step 3: Understand Music Production 101
Now it’s time for the fun stuff. Let’s dive into the basic aspects of producing music as well as some music production tips…
Dynamics
This may be obvious, but if your song sounds relatively the same the whole way through, it will get boring fast.
That’s why the best productions have quiet parts, loud parts, parts that build, etc. They vary.
Think about the ebb and flow of the song.
If your verse is chill, go big during the chorus. Go halftime during the last chorus.
Or start with a couple layers and have dozens happening by the end of the song.
Assume the listener will get bored quicker than you think.
Frequency Spectrum
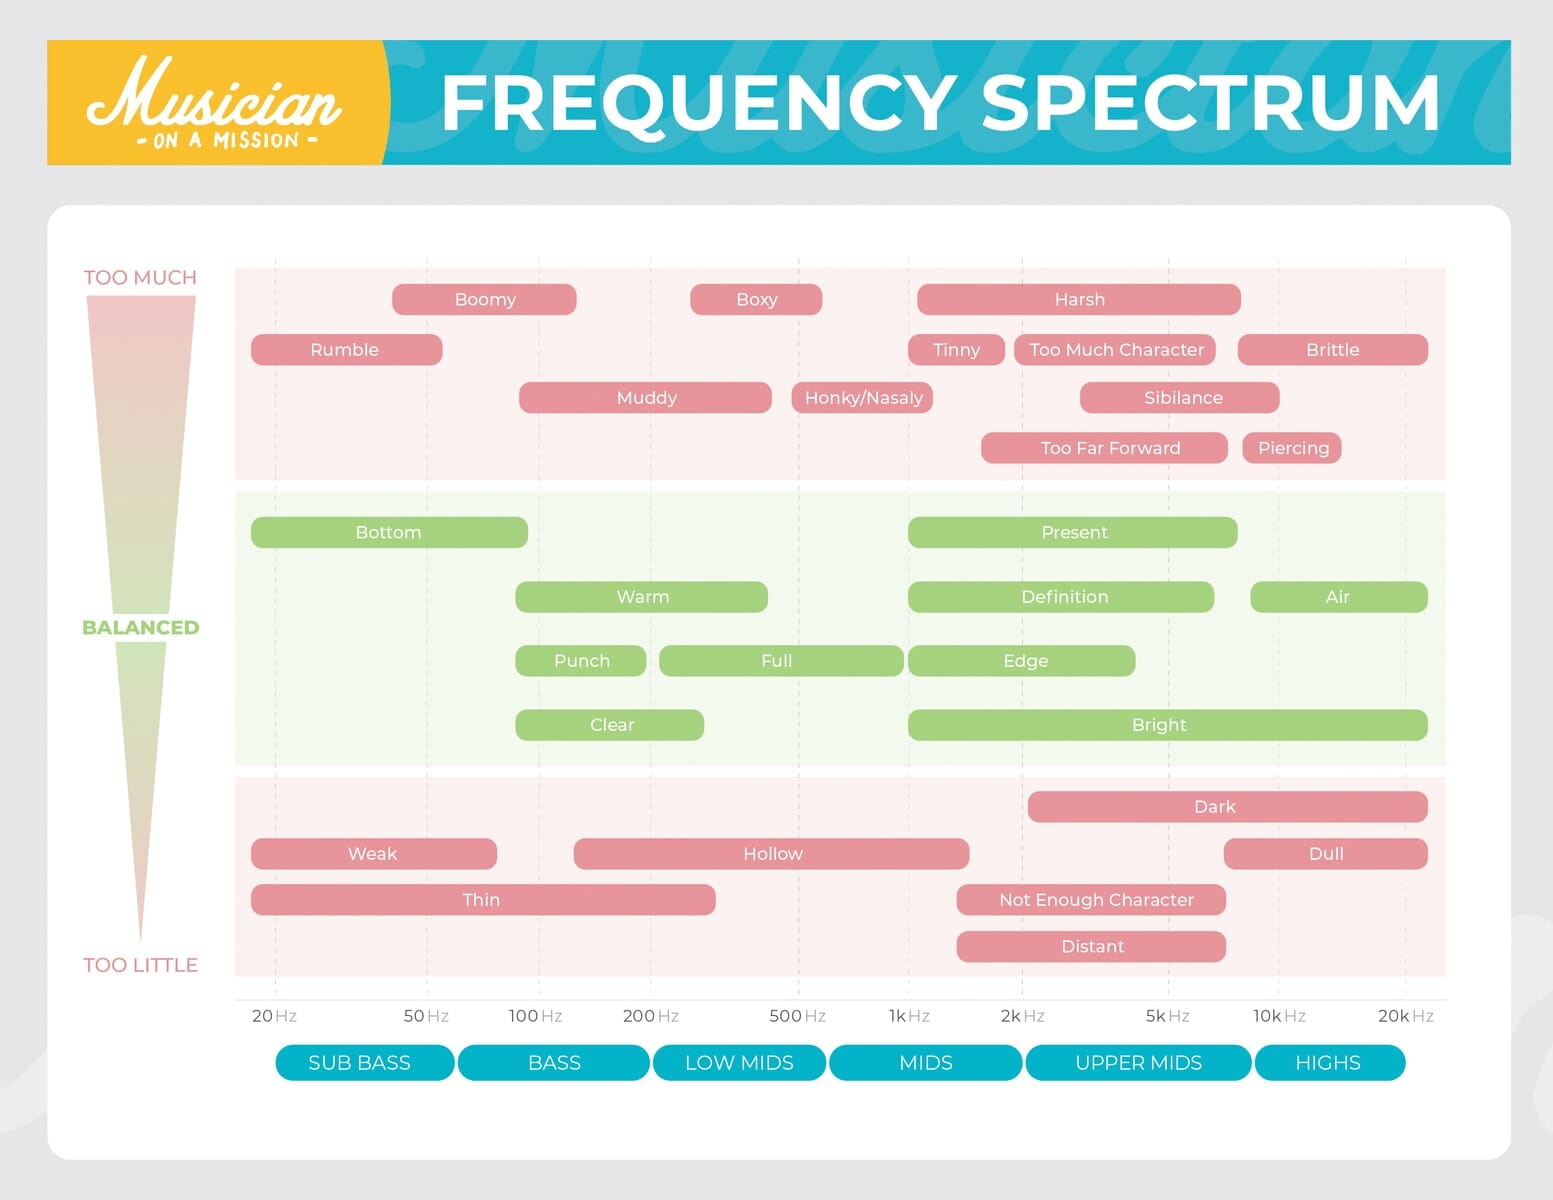
You also have to think about the different frequencies happening in your song.
If you have a lot of sounds at a certain frequency, your song will start to sound muddy. That means you probably need to use more of the frequency spectrum.
Have a lot of high sounds, like a hi-hat, shaker, and piano tinkles? Add some warm acoustic guitar or some lower piano notes.
Have too many low mids happening, like bass or cello? Add some instruments in the mid high frequency range.
You can also remove sounds to help the other frequencies shine. That can help get rid of the mud in your mix.
Wideness
Widening your song is more something that happens during the mixing stage. But you can pan instruments to help produce the sound you want as you go.
Don’t be afraid to pan instrument 50–100%.
These numbers scared me when someone first told me that. But being bold with panning can really help fill out your song.
The general rule is this. The more something is up the middle, the more up front it will be in the mix.
Also, higher-frequency instruments typically sound better panned. More bassy instruments sound better centered.
Sometimes Less Is More Powerful
I often think I need to add something to make my production more interesting. And sometimes that’s true.
But many times, less is more powerful. You can let the emotion of the vocalist carry the song while you supply minimal instrumentation.
Getting stuck during the production stage? Try removing elements, and see what happens.
Dump Your Ideas
Something Jacob Collier taught me (via YouTube) is to get all your ideas out of your brain. Just dump them into your DAW.
Then you can decide what’s good or bad later.
Come back to your project on a different day, when you have fresh ears. Then make decisions about what stays and what goes.
Don’t Go Crazy with Effects
Sometimes I’ll put effects on my instruments, but that’s only when I have an idea of the sound I want.
If you don’t have a specific sound you’re trying to get, hold off on the effects. You can always add those during the mixing stage.
So don’t feel like you have to add all the effects right now.
Close Your Eyes
Closing your eyes can help open your ears. When your production is getting close to finished, sit back, close your eyes, and hit play.
You won’t be able to see your DAW project or be distracted. So you can focus your creative energies on the song.
Save a Lot
Save your project a lot. More than you think you need to. You never know when your computer will decide not to cooperate.
Take a Break

Your ears can get tired. Don’t go more than an hour without taking a break, even if it’s just for 10 minutes.
Go get a snack. Walk around the block. Do some pushups. Then go back to the music.
Be Consistent
The best producers are always trying to get better and consistently working.
I’m not saying work all the time. But in order to improve, you should be producing music regularly.
Step 4: Learn Basic Mixing Techniques

Some people like to mix as they go, meaning they’re mixing while they’re recording and producing.
But it seems better to split the process into stages. Mixing should be separate from producing.
It’s important to know basic mixing techniques as a bedroom producer. Here’s why…
You can eventually start mixing your own songs. And that will give you even more creative control over your music.
Then, eventually, you can begin charging other musicians for your mixing services.
To give you an idea of the mixing process, here are the basic steps:
1. Prep
Organize your tracks by instrument or position in the frequency spectrum.
Label your tracks. Get rid of tracks you’re not using.
You can even color-code the channels.
2. Balance the volume
The fader is the most effective EQ tool.
So you need to spend time finding the right balance of volume among your tracks.
3. Start EQing
An equalizer (EQ) helps shape the tone of each instrument.
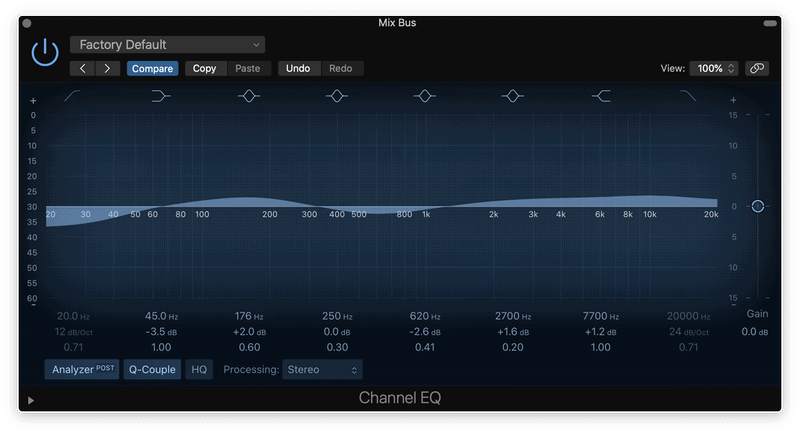
4. Apply compression
A compressor makes the volume of an instrument more even across the whole song.
5. Use panning, reverb, and delay
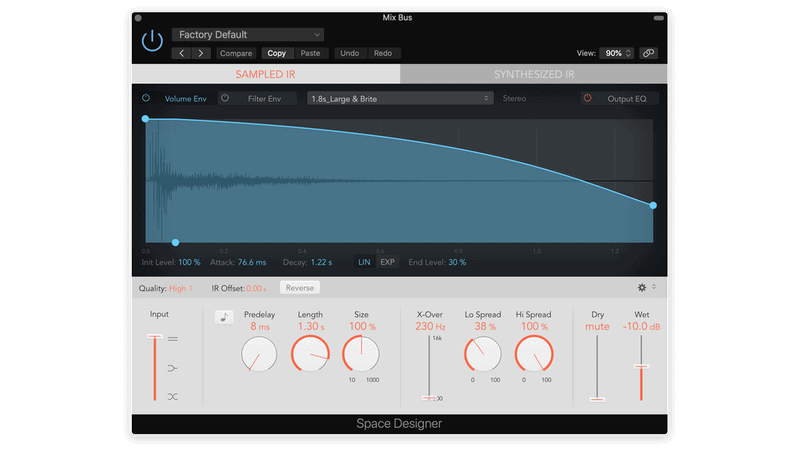
These elements help create space in your track. Make your song sound wider, deeper, and richer.
6. Volume automation
Get specific with the volume of a channel across the whole song.
Is that one word way louder than the others? Bring its volume down with automation.
Conclusion
There are many more steps than these. If you want to dive deeper into mixing, check out our mixing music starter guide.
Here’s the takeaway of this post.
You can start producing music from your bedroom. It just takes some basic equipment, simple acoustic treatment, and a drive to make music.


