


Ever gotten halfway through a mix, only to realize there’s a nasty hum that’s wrecking your tracks?
Noise can quickly add up. Before you know it, your entire song feels unprofessional.
But there’s an easy way to avoid this problem!
Keep your noise floor low.
What Is Noise Floor?
Imagine noise as a room in your house. When it’s super loud, it’s all the way up at the ceiling. But when the noise is super quiet, it’s down at the floor.
That’s the noise floor.
Every electronic device produces noise. This includes your microphones, cables, and audio interface.
Noise floor refers to the amount of noise a piece of equipment naturally creates.
Usually, these devices have such a low noise floor that you can barely hear them.
Sometimes, a condenser microphone makes a subtle hum. You can hear it if you turn up the gain and listen closely.
Noise floor can also refer to background noise. This could be the sound of a car driving by outside, the distant rumble of an air conditioner, or your neighbors upstairs.
Noise floor is the base-level noise that’s happening in your recording. Whether from your devices or from other noises.
Keep Your Noise Floor Low
If you want a professional sound, you need to keep that noise floor low.
![]()
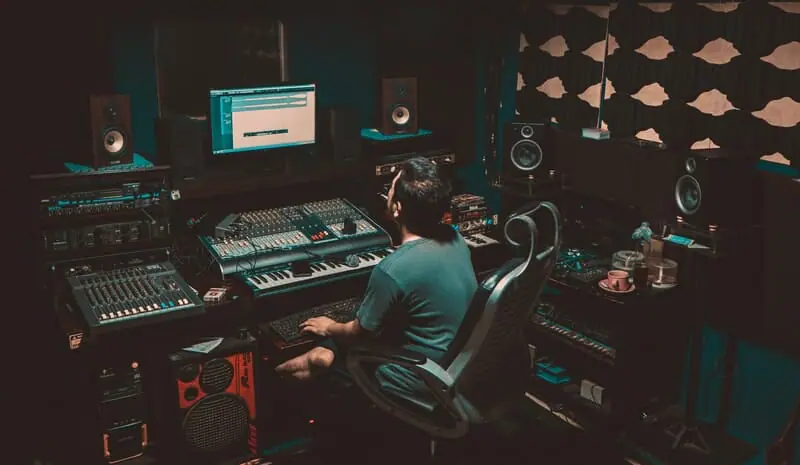
There’s a reason pro recording studios are ultra soundproofed. Background noise is unwanted.
Ever hear a song with lots of device noise or background noise? It usually means you’re listening to an amateur recording.
And you can’t just “fix it in the mix.”
Once you record an instrument, it’s very difficult to remove specific sounds that you may hear.
Did your roommate flush the toilet during your vocal take? You’ll have to rerecord it, or else it’s a part of the song.
Hear a bird chirping outside your studio window? It’s part of the recording now. You’ve got to record the take again.
Plus, when you mix a song—and especially when you master a song—every sound in your recording will be turned up.
Sounds you didn’t notice before may be brought out during mixing and mastering.
This is why you must keep your noise floor as low as possible.
The Most Common Noise Problems in Audio Recording
Let’s talk about the most common things that can raise your noise floor. Things that can add unwanted noise and sounds to your recordings.
Plosives and Sibilance

A puff of air that hits the microphone capsule and causes a thumping, distorted sound is called a plosive. And once it’s in the recording, you can’t really take it out.
Sibilance is similar to plosives. Except it’s when high-frequency sounds burst into the mic capsule.
S and T sounds are the main offenders here.
Sibilance gets more obvious when you add a compressor or high-frequency boost. You’ll realize these sounds are quite annoying.
Just like plosives, it can be difficult to avoid sibilance. But in both cases, there are some things that can help.
You should use a windshield, aka a pop filter. It’s a mesh or metal screen you put between your mouth and the mic.
It blocks and breaks up the air coming from your mouth in order to keep shots of wind from hitting the capsule.
You can also set the mic capsule slightly off-axis from your mouth, or simply back away from the mic a bit.
You can get a microphone that’s less bright than others, which would typically capture less sibilance.
There are also plugins that promise to remove plosives, like de-essers. But it’s best to avoid it from the get-go.
Ground Loops and Electrical Noises
You might run into an electrical crackle or a signal dropout during recording. When this happens, it’s a serious pain.
It may be because of an iffy plug or cable.
It might be corrected if you unplug cables and connectors and plug them back in. Or even just wiggle them a bit.
First, this is a sign you need a new cable, wire, or audio interface.
Second, it’s difficult to remove this after it’s in the recording. It’s possible to fix if the crackle happens at just the right time, but it’s hard to get them out.
Ground loops are typically a hum that sounds like a low-frequency buzz.
These are often caused by multiple devices connected to each other that are plugged into different power outlets.
Each outlet may have a different ground value. If two outlets have different ground values, it can cause a buzzing.
To avoid ground loops, try using balanced audio cables, ground-loop isolating cables, or ferrite cores for USB cables. Or try using a power strip for your different devices.
If you hear it in your recording, you can try to remove it with a high-pass filter. But there are no guarantees that will work.
Interference
Electromagnetic waves are flying through the air at all times. Most of them are not a problem for recording.
But when it comes to phones and WiFi, you may run into some trouble.
Ever set your smartphone near your audio interface during a recording session? You may have noticed a weird buzzing from your speakers.
Keep your phone away from your recording equipment or turn it on airplane mode.

Interference can also come from your WiFi signal. So don’t store your WiFi box in the same room as your home studio.
Interference is difficult to correct afterward. It’s nearly impossible unless it’s just a small and quiet buzz that you can isolate.
Rumbles
Low-frequency rumbles can easily show up in your recording. This could be a car driving by outside or your neighbors having an argument next door.
That’s why it’s important to isolate your space as much as possible. Especially when it comes to recording vocals.
Keep your space as far away from outside noise as possible. Some solid acoustic treatment can also work wonders.
Many condenser microphones have a low-cut switch. When enabled, it EQs the low end out of the recording before it goes into the preamp.
You can also try to remove low hums afterward with a high-pass filter or surgical EQ. But that could negatively affect other low-end frequencies you may want.
Equipment Self-Noise
Many pieces of recording equipment have self-noise, even if it’s super quiet.
So if you’re using a microphone, especially a condenser mic, there’s probably a very quiet hum happening even when you’re not recording.
There’s no way to totally remove self-noise, but you can get a super nice mic with very low self-noise. High-end preamps can also help.
But don’t spend a bunch of money on new gear if you can avoid it. Equipment noise is usually quiet enough that it’s not a big deal.
But it’s easy to reduce the prevalence of self-noise. Keep other devices (especially phones) away from your mic, mic cable, mic stand, and audio interface.
Background Noise
Background noise is one of the biggest culprits of amateur recordings.
The most common sources of background noise include:
- Outside noises, like cars
- Noisy neighbors
- A squeaky chair
- Clothing sounds, especially rubbing against your instrument
- Children or pets
Here are some tips for avoiding background noise:
- Treat your home studio with bass traps, acoustic panels, and soundproofing materials
- Figure out when your neighborhood/neighbors/roommates/children/pets are the least active
- Be conscious of the clothing you wear while recording
- Stay as still as possible when recording with a sensitive mic
More Tips to Minimize Noise
Let’s go over some more steps to eliminate unwanted noise.
Pick the Most Ideal Room
If you have a choice, consider which room in your house is best suited for home recording.
Preferably, here are some qualities that are good to have in a studio:
- A big room with high ceilings: this’ll naturally cut down on room reflections
- Hardwood floors with a rug: carpets absorb high frequencies but not low frequencies
- If your room is all carpet, it will hurt the acoustics
- If it’s all hardwood, it’s going to sound more echoey
- A wooden floor with a rug will do the trick
- No windows: when sound reflects off glass, it comes back sounding harsh
- If you have to use a room with windows, simply hang a cloth curtain over them
Treat Your Recording Space
Whatever room you choose, treat it as much as you can.
Acoustic panels help reduce reflected sound by absorbing mid to high frequencies. Bass traps absorb low-end frequencies.
All of this helps reduce reflected sound coming back to the microphone. This means you’ll have more control over the sounds during the editing and mixing stage.
Baffle Your Room
A baffle is a sound-absorbing piece of material. You place it behind the microphone to catch as many sound waves as possible before they start bouncing around the room.
This could be a moving blanket hung across a door frame. It could be an old twin mattress leaning against the wall. Or it could be a closet full of clothes.
You can buy an actual baffle that attaches to your mic stand and surrounds your microphone. It’s the next best thing after a full-on isolation booth.
Unplug Electronics You’re Not Using

Microphones and cables have self-noise. That’s why you’ll want to unplug any devices or cables you’re not using while you record.
This cuts down on the collective hum that may be coming from your equipment.
This also includes any other electronics that are noisy. Fans, heaters, dishwashers, even loud light bulbs.
Those noises can show up in your recording.
Get Closer to the Microphone

I know plosives and sibilance can occur more if you’re closer to the mic. But you also don’t want to be so far away your voice becomes one with the sound of the room.
It will make mixing a huge headache.
If you get closer to the mic, you’ll have more control over how the vocals sound in post. Just make sure you use a pop filter and point the mic’s capsule slightly off-axis from your mouth.
Conclusion
Keeping your noise floor as low as possible can go a long way toward getting a professional mix. And it’s usually easy to take care of!
You can avoid most unwanted noise by prepping your home studio. Take some time to make sure you’ve checked off all these potential issues.


