

Getting your home studio setup right isn’t easy.
It takes a bit of time and money to get going.
But I want to let you in on a little secret…
You only need 8 pieces of equipment to set up a home recording studio that can produce radio-worthy tracks.
Keep reading if you want to learn what those items are.
Plus, I’m going to teach you…
- how to choose the perfect room in your home
- where to place your speakers
- how to add acoustic treatment
- and more!
I’m guessing you’re here because you want to make your mixes sound professional. Well, you don’t need expensive gear or software to do that – you just need the right knowledge. We put together a brief training that covers a totally new approach to music production. Until now, everyone has been teaching production totally backward. Just click below to watch. Get industry-quality every time (steal this framework)
But if you just want to learn about studio gear specifically, keep reading.
What Equipment You Need
Setting up a home recording studio doesn’t need to cost a fortune.
Most people spend WAY too much on equipment…
When what they should be focusing on is their SKILLS.
Learn your gear inside out before you even consider upgrading.
Now…
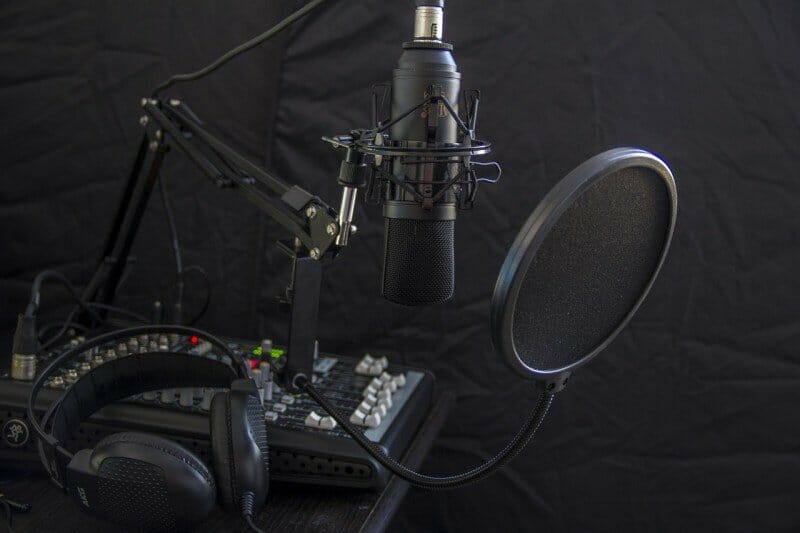
There are only 8 key pieces of equipment that you need for a successful home studio setup:
- Audio Interface
- Microphone
- Microphone Cable
- Microphone Stand
- Pop Shield
- Headphones
- Monitor Speakers
- Acoustic Treatment
With this home recording studio equipment alone, you can start getting audio work from the comfort of your own home.
But even then, some of these items are optional. For example don’t necessarily need speakers or acoustic treatment, as a lot of people learn to mix on headphones.
Let’s look at each item in a bit more detail.
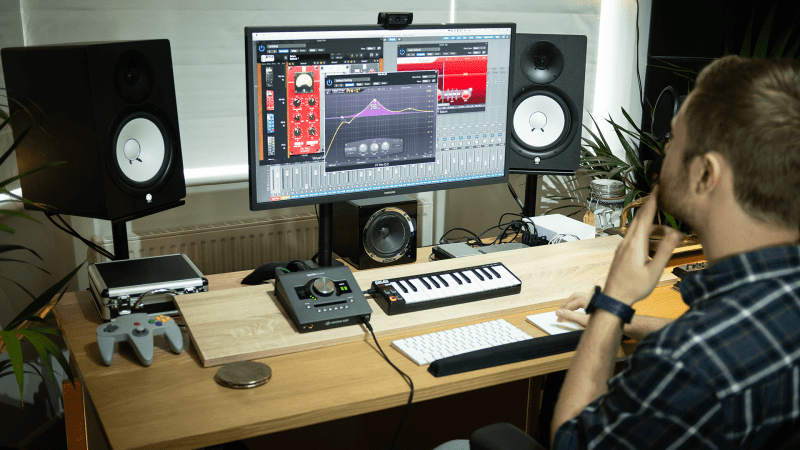
ESSENTIAL ITEM #1 – Audio Interface
Most people chose to use a USB audio interface. This piece of home recording studio equipment allows you to connect the microphone, speakers, and headphones to your computer.
For a beginner, the best bang-for-your-buck is either the Focusrite 2i2 or one of NI’s Komplete Audio interfaces.
If you need more channels (for recording drums or a large choir), you will need a larger interface. I’d check out the Focusrite 18i8.
Eventually, you might also want to upgrade to something with better preamps and converters. Once you’re ready to upgrade, I’d absolutely check out the Apollo Twin Duo.
ESSENTIAL ITEM #2 – Microphones

Start off with a cardioid large diaphragm condenser microphone for your studio.
Let me break that down…
You want to give preference to cardioid microphones when recording at home. They reject sound from the rear, so are useful for less-than-perfect rooms.
And the perfect type of microphone for your home recording studio is a large diaphragm condenser.
This mic type sounds great on vocals, acoustic guitars, and other acoustic sources.
When recommending a good microphone for recording, my preference is the sE Electronics sE2200a. It’s a good condenser mic, a great general microphone for music, and a good vocal mic too. In my opinion, the best condenser mic under $300. Here is my full review:
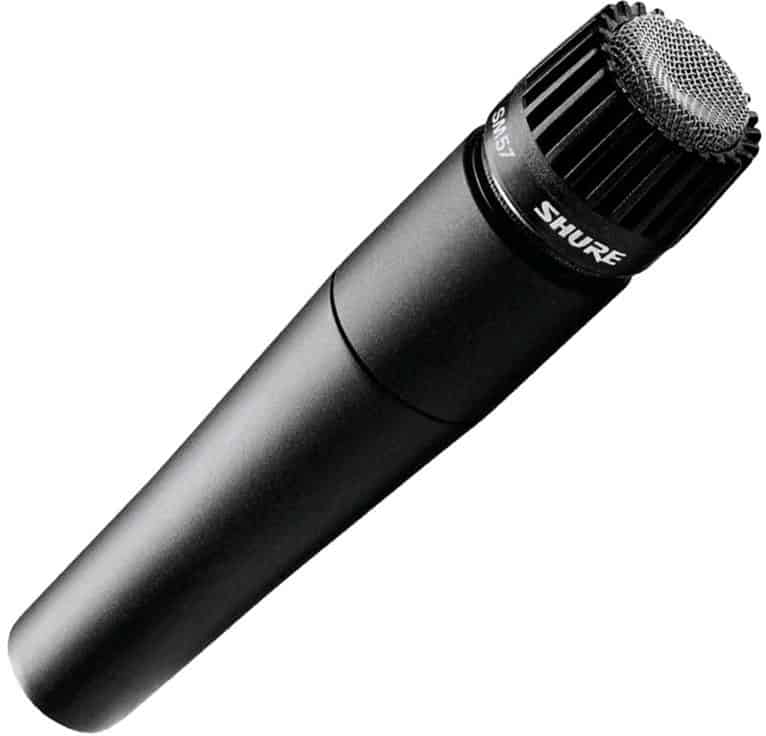
Then, if you want to add another microphone to your arsenal, I recommend purchasing a cardioid dynamic microphone.
These mics sound better on guitar cabs, percussion and sometimes vocals too.
Here, I would recommend the Shure SM57.
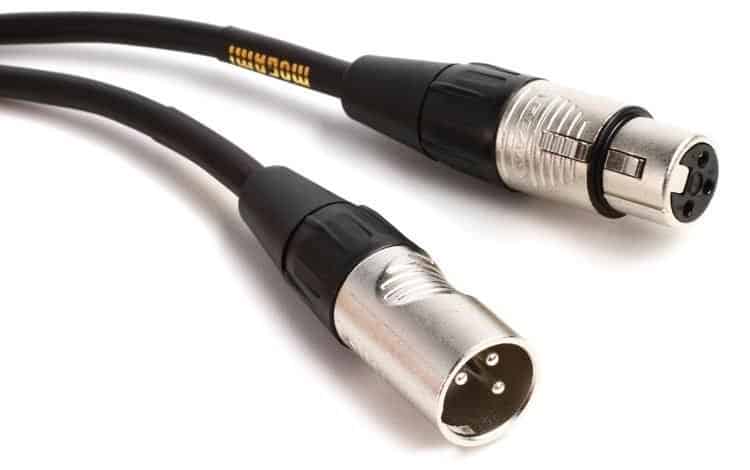
ESSENTIAL ITEM #3 – Microphone Cables
Yep, pretty boring, but essential!
Don’t spend too much here. If the cable works, it works. You need a balanced XLR cable.
I find that the middle ground is usually best with accessories.
Don’t go for the most expensive option – but don’t go for the cheapest either. You want things to last.
I’d check out the Mogami CorePlus mic cable.
ESSENTIAL ITEM #4 – Microphone Stand
The same goes here. Go for the middle ground.
You need one stand per microphone.
Be aware: these stands DO wear out over time. The cheaper you get, the more likely you will have to quickly replace the stand.
I’d recommend grabbing the K&M 210 Telescoping Boom Stand.
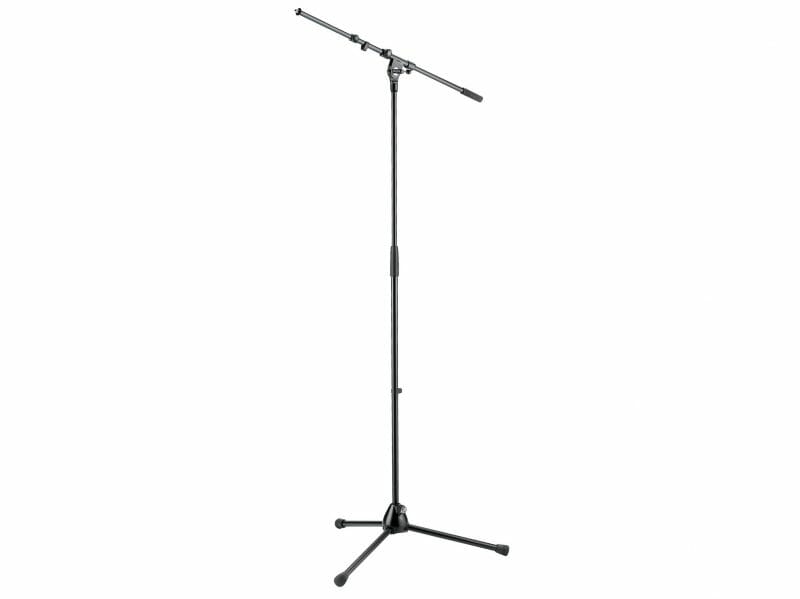
It’s lasted me a few years at this point, which is a great lifespan for a mic stand. Plus, it’s not as crazy expensive as some of the upper-tier models.
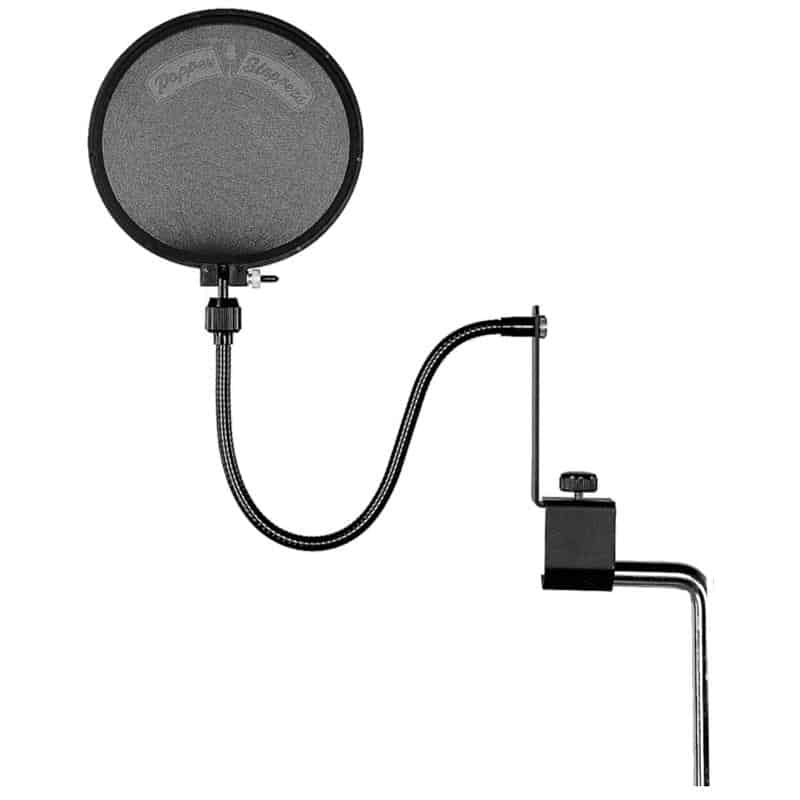
ESSENTIAL ITEM #5 – Pop Filter
If you ever record vocals, you need a pop filter.
They aren’t expensive and will stop plosives from ruining your vocal recordings.
I’d check out the Shure PS-6 Popper Stopper.
ESSENTIAL ITEM #6 – Headphones
You have two options here: closed-back or open-back headphones for your studio.
Closed-back headphones are for monitoring when recording (or mixing on the fly in public places).
Open-back headphones are for mixing.
For your first pair, go for closed-back headphones. You can still mix on them (just remember to mix at a low volume and use a reference track).
I love the Sennheiser HD 280 headphones for an affordable first pair.
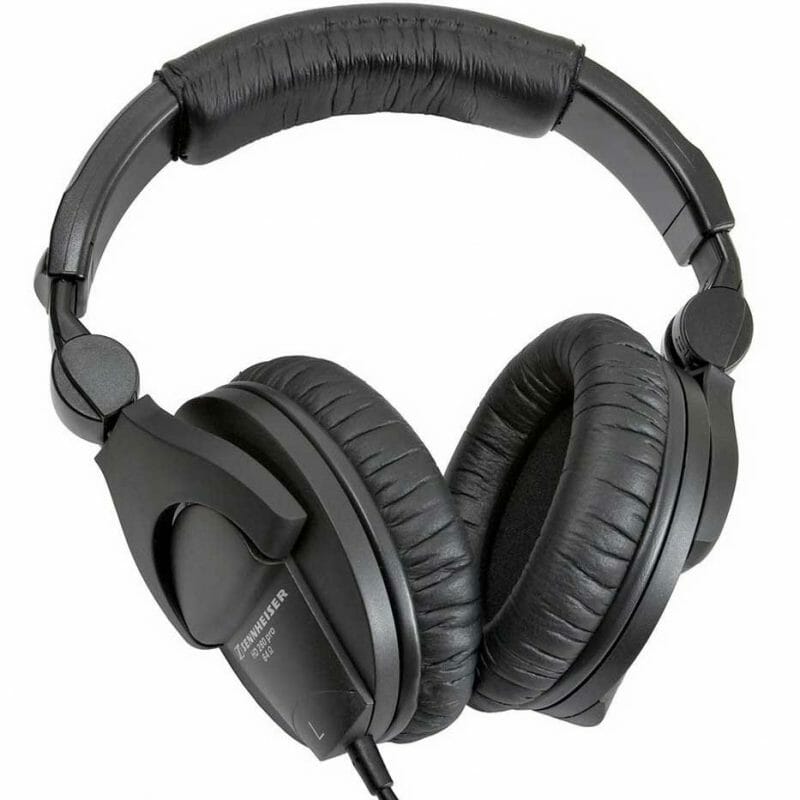
They sound great, and most importantly, they’re not thousands of dollars.
ESSENTIAL ITEM #7 – Monitor Speakers
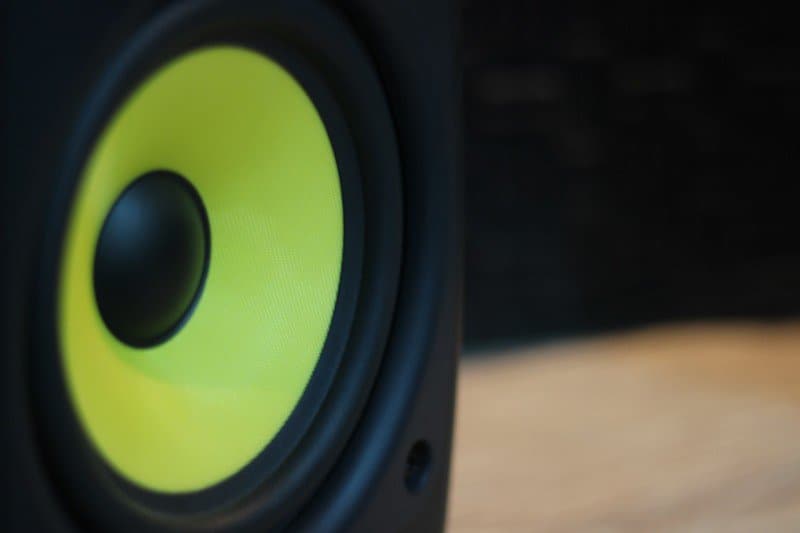
It’s difficult to learn how to mix without a set of proper studio monitors.
These speakers have a flat response, so you hear the mix as it really is. Normal hi-fi speakers color the sound – not good.
You can mix on headphones alone. But only after a lot of practice and experience.
Even then, it’s always worth checking your mix on monitors.
Just make sure you read up on proper speaker placement first!
I highly recommend the affordable Yamaha HS8’s.
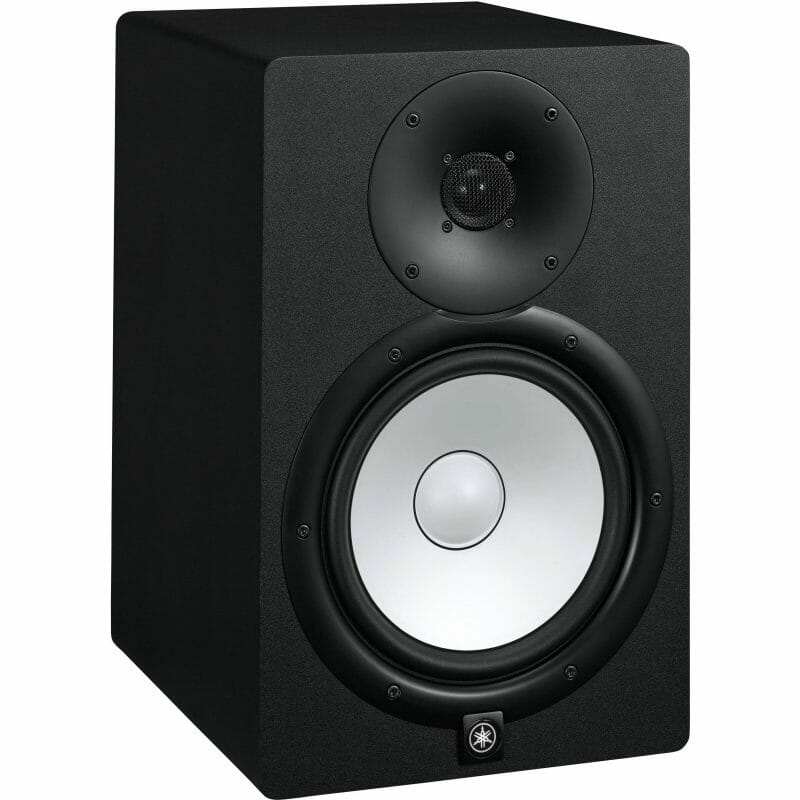
Make sure your room is acoustically treated if you use this size. If your room isn’t treated (or it’s smaller), check out the Yamaha HS5’s.
It doesn’t really matter which speakers you chose, though – just buy a pair and stick with them for a long time. Learn how they sound.
It’s also worth investing in a set of monitor stands or monitor pads.
You need to be careful how you set your monitors up – we are going to look into this in much more depth later in this guide.
ESSENTIAL ITEM #8 – Acoustic Treatment
Acoustic treatments are foam or fiberglass panels that soak up the natural reverb of the room.
When mixing and recording, you want to be using as “neutral” of a room as possible. That way your results aren’t being colored by the sound of your small home studio.
I’m personally a fan of fiberglass panels. Rather than purchasing panels (which can be extremely expensive), I’d recommend making your own for 1/5th the cost.
You should also make some bass traps if your low end is out of control
NOTE: Here’s a great video on Acoustics terminology:
Can I use any laptop or computer?
Any modern computer will be sufficient for recording.
But, if you want to run large projects with a high number of channels, a computer with a powerful CPU and 8GB+ of ram will help.
You also need to consider the operating system. Personally, I have found that Mac computers are far more reliable and stable when working with audio.
Once you have your computer ready, you will also need to download a home recording studio software before you can get started.
That’s everything you need to build a home recording studio! Now we can move onto recording studio design.
Home Studio Setup: The Perfect Room Setup
You might have the best equipment in the world…
But if you don’t set it up properly, your mixes will never improve.
You don’t NEED to do any of this. But choosing the right room, setting it up properly and adding some affordable acoustic treatment will make your job 10X easier.
I can remember the first time I re-organized my room and added acoustic treatment. It was a breakthrough for me.
Suddenly I could hear every detail of the mix, every subtle EQ move and all of the low end.
In this guide, I want to show you how to do the same.
But don’t get obsessed with this stuff. No room is perfect.
It’s highly unlikely that you will be able to find the perfect room, put the speakers in the perfect position and treat the room perfectly.
Even professional designed and built home recording studios make various compromises.
Just try to meet as many of the following suggestions as possible.
If you can’t, you will still be able to produce good mixes.
My room is FAR from ideal. But I can still mix in it.
Don’t get too caught up in the science. Do your best, and then learn to mix with what you have.
Now, let’s dig in…
There are 5 vital things you must consider when choosing a room:
- The size of the room
- The dimensions of the room
- The surfaces within the room
- The height of the ceiling
- Noise level within the room
#1: Room Size
Avoid small rooms. They’re an acoustical nightmare.
The bigger the room, the better. Plus, that means more space for recording (and possibly a drum kit).
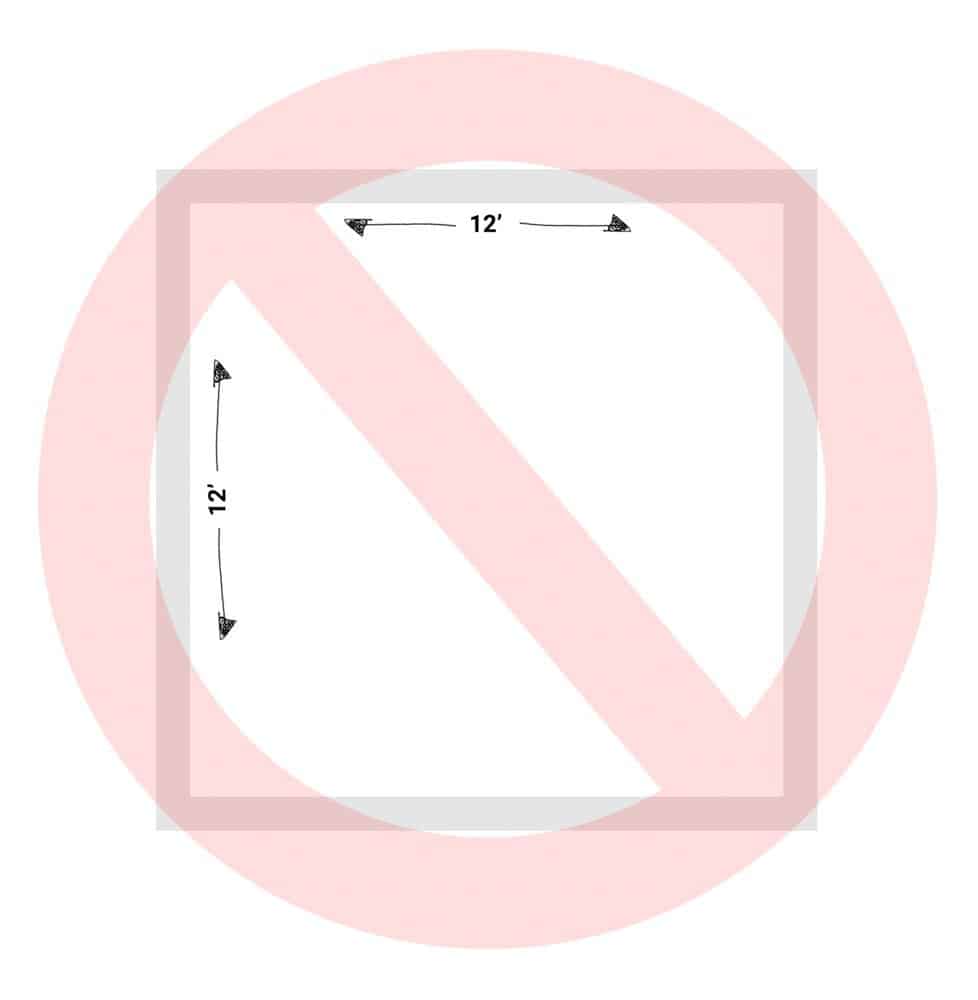
#2: Room Dimensions
Avoid rooms with equal width and length dimensions.
If the room is an exact square, avoid it like the plague.
This creates an immense buildup of standing waves (which are bad).
#3: Room Surfaces
Try to avoid rooms with too many reflective, hard surfaces.
A kitchen would be the worst place for a home recording studio. But why would you want to do that, anyway?
A room with a floor length window or mirror along a whole wall would be a bad choice.
A concrete basement would be a VERY bad choice.
Wooden floors are desirable as carpet only absorbs high frequencies, which can make the room sound muffled.
But windows, mirrors, bare concrete, marble etc. are highly undesirable.
#4: Ceiling Height
If the ceiling is too low, vertical reflections are going to become much more of an issue.
When you record vocals, for example, a strong reflection from the ceiling can cause comb filtering – which is very bad.
As for mixing, a low ceiling can be equally destructive.
#5: Noise Level
Can you hear passing traffic in the room? Is it next to an A/C unit? Or a boiler?
You want the room to be as quiet as possible.
Don’t Have a Choice?
Quite often you will only have one room available to you. Or maybe you have a temporary setup in a bedroom or living room.
This is where acoustic treatment becomes vital.
You can learn more about choosing the best room in this video:
Home Studio Setup: Placing Your Monitors
Before you consider acoustic treatment, you need to make sure to organize your room in the right way.
It’s easier to start with an empty room. This gives you a blank canvas to work with.
The main thing to consider when designing the layout of your room is the position of the speakers.
When recording, you are mobile (in most cases). You can move the microphone around the room.
But once you set up your speakers, they’re gonna stay there.
Here’s the ideal way to set up your room…
#1: Position the Speakers Away From the Wall
Many monitor speakers have bass ports on the back. If you position them right up against a wall, they won’t work properly.
Check the manufacturers guidelines for the minimum distance between the speaker and the wall.
Contrary to popular belief, positioning your speakers a foot or two (30-60cm) away from the wall doesn’t always result in a more even bass response.
In fact, sometimes it can even be detrimental. The reflection from the wall can cause more issues than the bass buildup that comes from having your speakers near a wall.
The solution?
Position your speakers the minimum distance from the wall (according to the manual). Then, if you can, reduce the bass on your speakers.
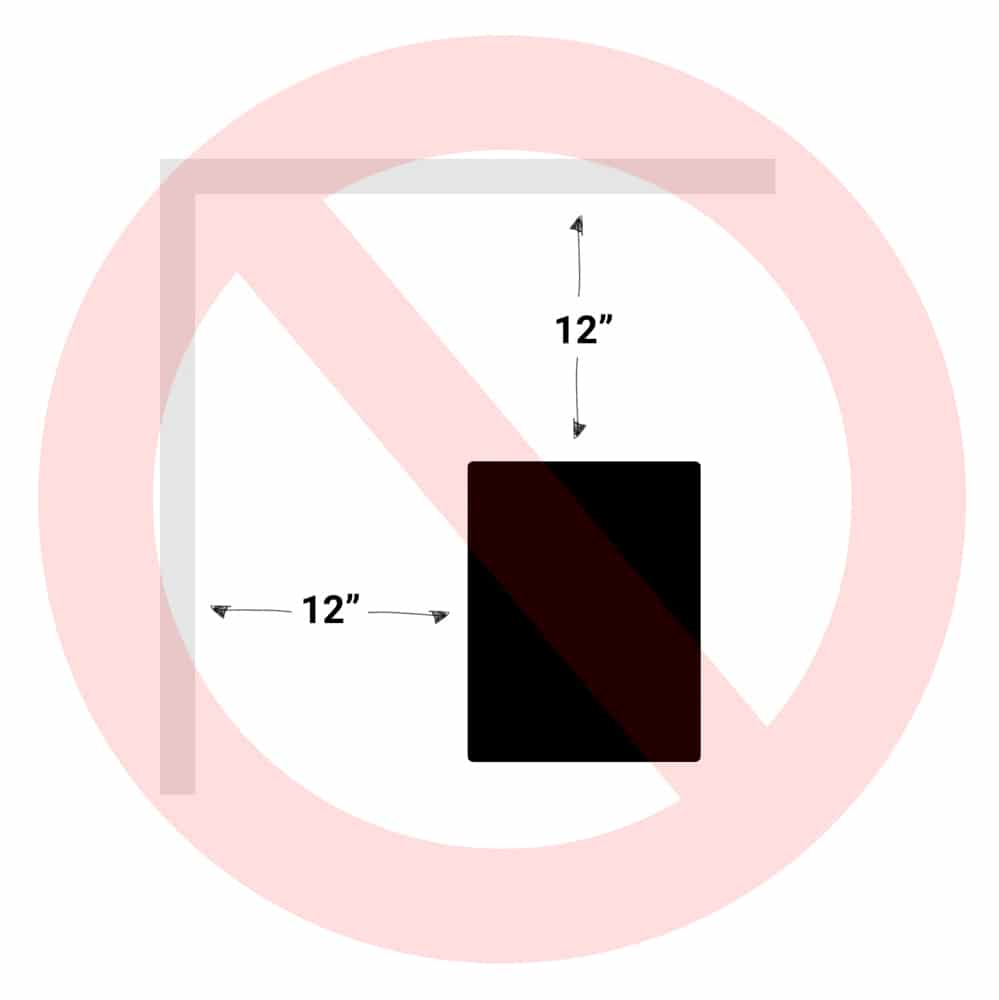
#2: Distance to the Front Wall and Side Walls Should Be Unequal
If the speakers are the same distance from the wall behind them (the front wall) as the side walls, move them.
This can result in a buildup of standing waves. In turn, this causes some low end frequencies to appear a lot louder than they are.
For example, if each speaker is 12″ from the rear wall AND 12″ from the side wall, they should be moved.
#3: Position the Speakers Along the Longest Wall
This ONLY applies if you have a larger room.
Your aim here is to reduce the volume of the first reflections from the speakers into your ears.
Strong reflections from can cause comb filtering and a range of other issues. These come from the nearest walls to the left and right of the speakers.
You don’t need to know all the details – just know that the first reflections are highly problematic.
By positioning the speakers along the longest wall, you are moving that reflection point further away from the speakers. This reduces their volume, as they must now travel further before reaching your ears.
To maintain a symmetrical stereo image, it’s best to position the speakers in the middle of the wall.

BUT, if you have a small room, this would be a bad idea.
If positioning the speakers along the longest wall causes the listening position to be over halfway across the width of the room… don’t do it.

This leads nicely onto my next tip…
#4: Avoid Having Your Listening Position Halfway Across the Length of the Room
This only applies to the length of the room AND the distance between the floor and ceiling.
If your head is halfway between the front wall and back wall, OR halfway between the floor and ceiling – you will hear a distinct loss in bass.
Consider the floor and ceiling as well as the walls.

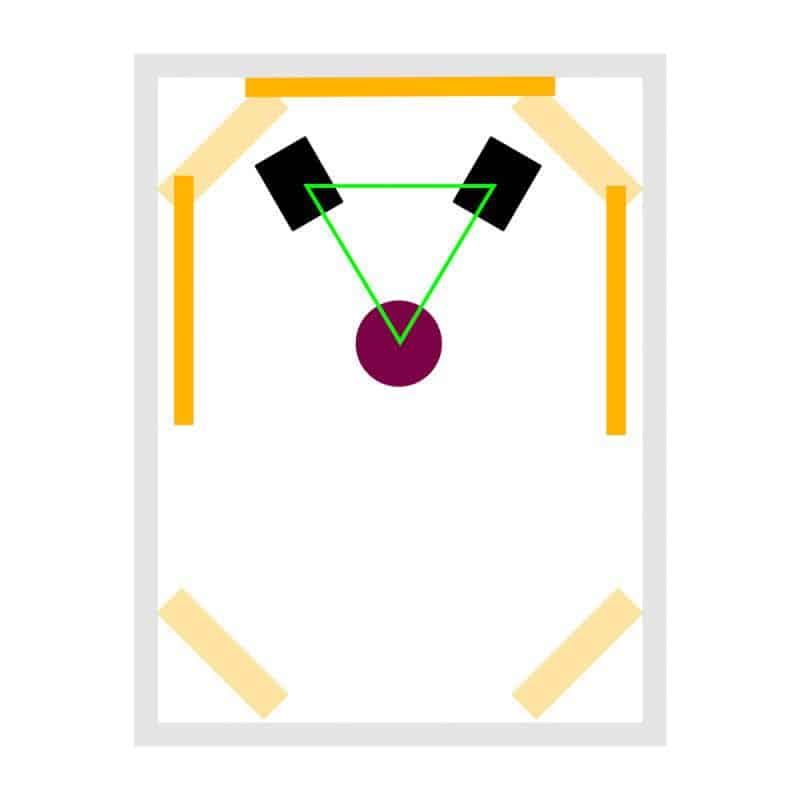
#5: Create an Equilateral Triangle Between Your Head and the Speakers
The distance between the speakers should be the same as the distance from your head to each speaker.
This is the listening sweet spot.

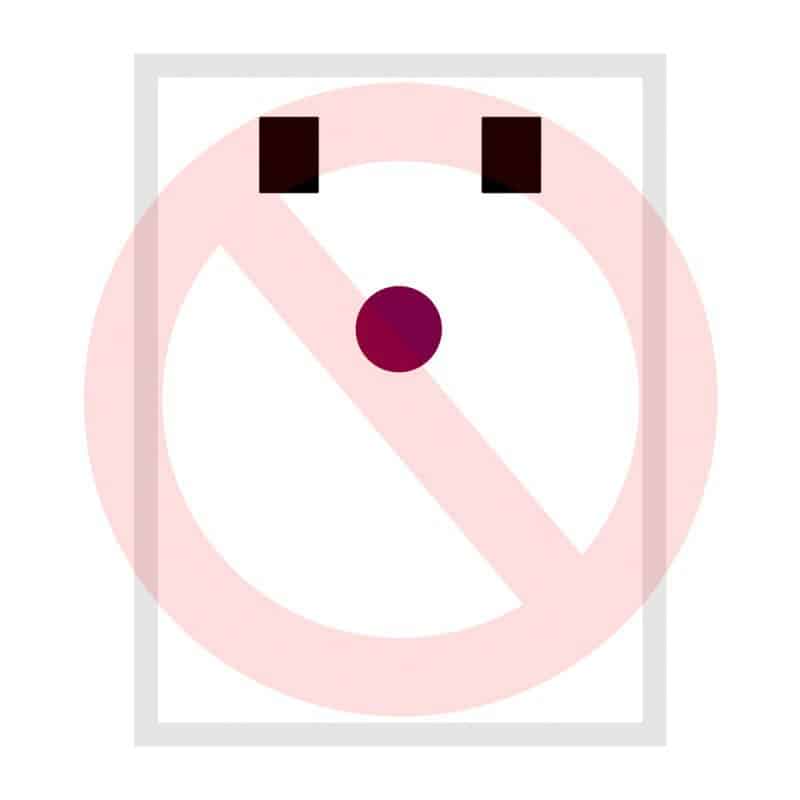
#6: Don’t Put Your Speakers on Their Sides
Unless your monitors are specifically designed to be mounted on their sides, position them upright.
If you don’t you will completely throw off the sweet spot.
#7: Point the Speakers Towards Your Ears
Most speakers are designed to be angled inwards pointing at your ears- not pointing straight ahead.
Also, consider the vertical angle of the speakers. If the speakers aren’t at ear level, tilt them upwards or downwards accordingly.
That’s it for home recording studio monitor placement.
I realize that’s a lot to consider, so don’t worry too much if you can’t meet every requirement.
To be perfectly honest with you, my listening environment only meets 80% of these needs. You have to make compromises.
Now that your speakers are in the ideal location, you can consider treating the room acoustically.
You can learn more about monitor placement in this video:
Home Studio Setup: Treating Your Acoustics
Acoustic treatment has two main aims:
- Correct any problems with the room
- Create an ideal environment for recording/mixing
Before we go into more detail, I just want to clear something up:
Don’t let acoustic treatment scare you.
It doesn’t need to be complicated, and you don’t need to be a scientist.
The study of acoustics is an entire field of physics. But you don’t really need to know any of that in order to treat your room to a good standard.
Which Type of Treatment?
Acoustic treatment doesn’t have to be expensive. You can build your own acoustic panels if you have the time.
Avoid foam acoustic treatment. It seems like this is the best option, but it’s all marketing.
Foam treatment only affects high frequencies. In a home recording studio, it’s the low frequencies that are the most problematic.
Build your own rockwool/fibreglass panels or purchase pre-made absorber panels.
Guerilla Acoustic Treatment
If you have a complete lack of funds, you can improvise with household items. Try using the following in place of absorber panels:
- Mattresses
- Thick Duvets
- Thick Drapes and Curtains
How to Treat Your Room (For Mixing)
These are the primary locations to place acoustic treatment in a home recording studio for MIXING, in order of priority…
#1: First Reflection Points on Side Walls
The walls to the left and right of the speakers. Imagine the walls are a mirror. Wherever you would see the speakers is where you should place the treatment. Also, consider the ceiling if it’s low.
If you are using rockwool panels, try to make the panels at least 4″ (10cm) thick.
You can also add an air gap behind the panel to increase the efficiency. In my room, I opted for 4″ panels with a 2″ air gap at the first reflection points.

#2: Room Corners
This is where bass builds up the most.
You can use purpose made bass traps…
Or you can absorber panels at an angle across the corner. This has the added benefit of creating an air gap that increases the efficiency of the panel.
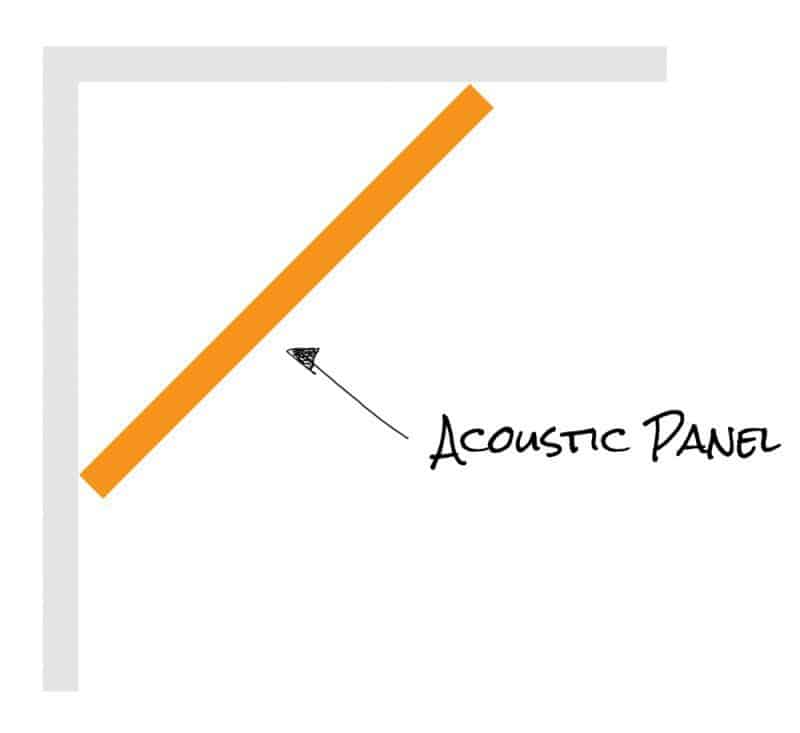
Also go for thickness here with panels ideally thicker than 6″ (15cm).
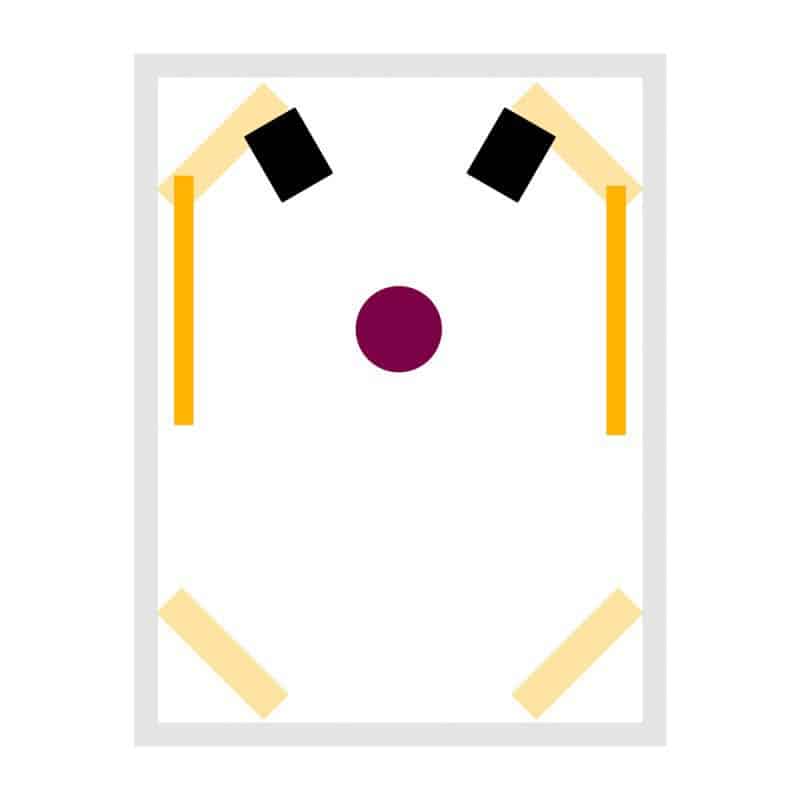
#3: Wall Behind Speakers
After treating the side walls and corners, you can place treatment behind your monitor speakers.
This will allow you to move them a bit further away from the wall (1 or 2 feet) without suffering the ill effects of comb filtering from the reflections. This will result in a more consistent low end (and no need to cut the lows from your speakers any more).
Fixing Room Issues
If you have a less than ideal room, you can also treat those issues.
For example, if the wall has a lot of hard, reflective surfaces, add more absorption.
If the ceiling is particularly low, add absorption there.
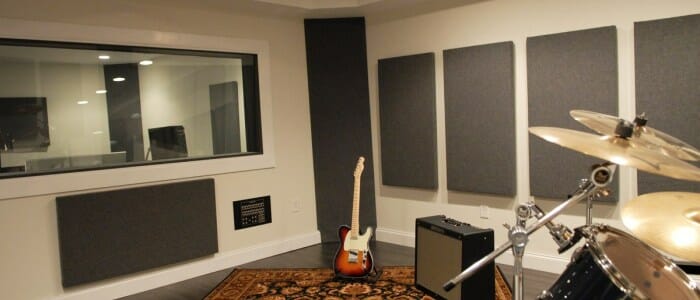
How to Treat Your Room (For Recording)
So far we have only discussed room setup and treatment for mixing. A room that is ideal for recording has a different set of requirements.
For us, though, working in a one-room home recording studio requires some compromises.
Here are a few tips for creating a hybrid recording/mixing room…
Don’t make the room too dead
In general, you want a ‘live room’ for recording.
This means a room that has more diffusive or reflective surfaces, rather than a room with a lot of absorption.
To find the balance, just be careful not to overtreat your room.
But, that would be a very hard thing to do.
Unless you invested considerable time and effort into building or purchasing a high number of absorber panels, the room will be appropriate for recording.
Just don’t cover the ceilings and walls in carpet. That’s the worst thing you could do, from both a mixing AND recording perspective.
Use moveable panels
If the panels that you build or purchase are moveable, you can set them up for specific recording requirements.
For example, you could make a vocal booth out of 3 panels positioned into a triangle.
Or you could place a panel in front of a guitar cab to reduce reflections from the opposing wall.
Split the room into two halves
Dedicate one side to mixing. Add absorber panels at the first reflection points, corners and walls nearest the speakers.
Then leave the other end of the room ‘live’ with no absorption or treatment.
Avoid Foam at All Costs
I wanted to address this point one last time, to really drill it in.
A lot of people use acoustic foam to treat their rooms.
It’s affordable, and it takes up less space than proper panels, so I can see the temptation.
But DO NOT be one of those people.
Foam has its place in a home recording studio. it’s useful for treating high frequencies…
But that’s it.
Foam will never treat the entire frequency spectrum, and especially not the low end – where you need help the most.
Build your own panels, and don’t make this common mistake.
To learn more about treating your home recording studio, watch this video:
If you want to dig deeper into music production and learn what it actually takes to make mixes that sound pro… And you’re an intermediate or advanced producer… Be sure to check out the free masterclass: Enjoy!Next Steps


